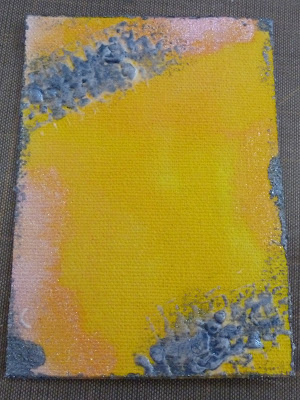
Today we are going small and creating an ATC.
I love doing these little pieces of art, measuring 2.5 x 3.5 inches you can pack a lot of punch onto a small size.
Perfect to pop in the mail for a friend, tuck in a lunchbox as a pick you up or swap with friends all over the world.
This is the ATC we are creating.
And here are the supplies you need.
Now remember the supplies are just a suggestion.
You can swap out the Shimmerz paints for regular acrylic paint, or even mists or ink. Make what you have work for you.
I am also working on sticky back canvas today because I love the texture.
Don't have any? No worries, paper works just as well.
Step one: Cut the canvas to the ATC size 2.5 x 3.5 inches.
Step Two: Cover most of the canvas with your first color.
Step three: add an accent color in spots and dry completely.
Step four: I used pieces of drywall tape in the upper & lower corners as a stencil.
Place modeling paste (if you want high texture) through the tape. If you don't have paste you can use white acrylic paint.
Step five: Remove the tape and let it dry.
Step six: while the paste is drying stamp a heart and wings onto a piece of paper. I used Shimmerz painted onto my stamp for the heart to make it sparkle but you can used whichever coloring medium you wish.
Cut out the heart and wings and ink the edges to hide any bits of the white paper.
Step seven: Once the paste is dry, paint it with a contrasting color to your background.
Add the wings and heart to the card as well as some text if you wish.
Your ATC is now ready to be displayed.
Thank you so much for joining me this month in creating.
Have a wonderful day.


No comments:
Post a Comment