If you ever look at my scrapbook layouts, you can immediately see how much I enjoy distressing my papers.
This isn't limited to layouts though, you can distress the papers on your cards just as easy.
Today I would like to share a quick tutorial on distressing papers for a card to create a shabby chic finished piece.
This tutorial was previously featured in Scrapbook News and Review.
Supplies
Brown ink
Brown mist
several coordinating papers
Distressing tool

Make a card base 5x7 and set aside. Cut a piece of patterned paper 4.75 x 6.75" and distress all sides. Ink with the brown ink.

Cut a piece of a 2nd patterned paper 4.50 x 6.50". Again distress the sides of the paper, tearing into it heavy in some spots. Ink the edges with the brown ink.

Layer the second piece of paper on top of the first. Using your blending tool to apply more ink in spots on the paper.
Cut a piece of patterned paper 4x6", cut another piece 3.75 x 5.75".
Distress all the sides of the paper, tear in spots, then ink.

Layer the papers onto your stack.

Cut a neutral piece of patterned paper about 3x5" and distress all the sides. Ink the edges and use your blending tool to apply more ink to the top of the paper.

Add it to the stack, layering and making sure all layers are visible.

Mist the stack with brown mist. Adhere it to your card base.

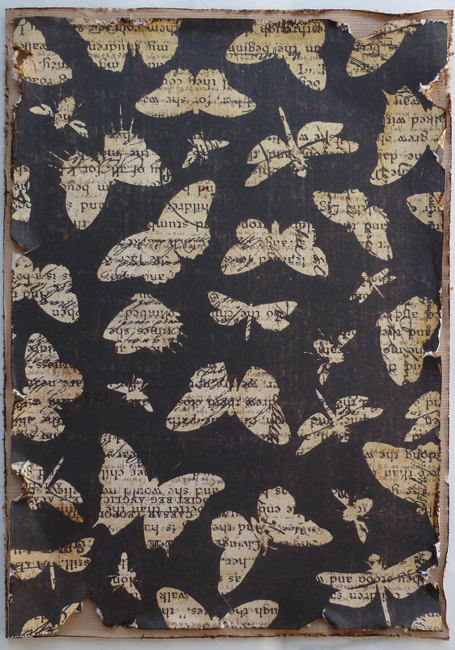
Add a focal image (here I cut a butterfly from a piece of patterned paper), your sentiment, and a bit of fiber tied on the side.

Thanks for stopping by and have a great day!
1 comment:
And, it is very beautiful, too!!! :-) Thanks also for visiting my blog!!!
Post a Comment