Showing posts with label card. Show all posts

Wednesday, January 13, 2016

Quick Card Share


Share a quick card I did up today
to send overseas.
I am not usually a card maker. 
For some reason I find the space incredibly constricting
(go figure as I often work on ATCs which are much smaller).
The background in book text splattered with Gesso
and watered down acrylic paint.
The heart was cut freehand from a piece of "paper"
I made a while back using layers of
tissue paper, watered down glue, and acrylic paint.

Stitched the heart onto the card and left the tails flowing free.
Add a bit of text and into the mail it will go.

Thanks for stopping by and have a great day!

Wednesday, October 21, 2015

A few mixed media pieces for the day....

Things have been a wee bit crazy around here.
Not much time is left to do large scale creating
but I have managed to knock out a few ATCs and a card.

The first share today is a 5x7 fall card.
The background is painted book text, covered with tape,
stamping and more paint through sequin waste.
The leaves and pumpkin were sent to me as extra goodies in another swap.
They were PERFECT for this card.


The next piece is an ATC.
I'm finding myself creating more and more of these.
The size 2.5x3.5 is perfect when time is in a crunch.

This one is acrylic paint background with some stamping.
The girl was stamped then colored with Distress Markers.


This ATC is created by collaging some painted and 
torn book text.
The butterfly was a college image and the words added are rub ons.


Last ATC.
This one is created using some of the same papers as the butterfly card.
Machine stitching around the edge
and then the addition of the bird.
While cleaning the other day I found a whole stack of these vintage bird images
so expect to see more birds popping up.


That's my quick share for the day.
Thanks for stopping by and have a great day!

Thursday, May 22, 2014

Sharing some mixed media pieces today….


Today I'm sharing some pieces I did up.

I needed to work on a card for a friend and wound up
working on a canvas at the same time
to send off to another friend.
The first piece is a 5x7 Mixed Media Canvas.

I'm still inspired by Stephanie Ackerman's class last week
so you'll see her style definitely influencing me today.
Layers and layers of paper, acrylic paint and stamping 
helped create it.
Onto to the card which started the whole play day.
On a 4x9.5" base I layered papers as I had on the canvas piece.
Adding acrylic paint and tissue paper layers...

Before cutting houses out of old book text and lining them up across the card.
More acrylic paint to color them.
The heart was cut from a scrap of painted paper.

The words come from a Tim Holtz sticker book
(love creating sentences with them).
Some stamping and Washii tape helped finish 
up the card.


Off to pop everything into the mail and send them on their way.

Thanks for stopping by and have a great day!

Sunday, November 17, 2013

Give Thanks

Today's share is a card I made for a good friend.
I also created it as a sample for the Thanks challenge
at 
There is still time to enter and prizes can be won :)

For some reason I struggle with cards. Working on ATCs and inches NO PROBLEM, pull out a card base and I am a deer in headlights.

No joke it took me 3 whole days just to make this. I stared and stared until I could (in the immortal words of Tim Gunn) 
Make It Work


The base was created with my Gelli plate, some old (and I mean OLD) acrylic paint 
and some stencils.
A piece of lace, Prima flowers and some pearls were added over the print.
The leaves were cut by hand from a scrap of patterned paper and the title was stamped, torn out and inked before being added.


Just a simple card to convey the sentiment of this upcoming Thanksgiving.
For all we have
Give Thanks

Thanks for stopping by and have a great day.

Tuesday, October 22, 2013

Collage stamping a card

Today I want to share a quick 
Collage Stamping tutorial.
Collage is a fun design element I use quite a bit. 
Most often it is with paper and images but there is another easy
way to add collage to your creations.

This is a fun way to use color and coordinating stamps 
to create a one of a kind card.
This technique can also easily translate
over to tags or ATCs.

This is the finished card.
I used the ROUTE 66 rubber stamp set from
Artistic Outpost and a variety of inks
from Ranger.
I stamped onto a base of glossy card stock cut to 3.75 x 5".

Supplies:
My base of Glossy Cardstock.
NOTE: because this is on glossy cardstock it is helpful to dry between each layer of color with a heat gun or air
Randomly swipe Antique Linen across the card.
It's ok to have streaks, they add interest.

Take your first background stamp (I use the map here) and 
with Bundled Sage stamp randomly over the card.

Take one of the small stamps and Forest Moss.
Stamp around the edges of the card 
(keeping in mind the focal image will be in the center of the card so 
we will not stamp much there anymore).
Make sure you go off the card in spots.

Take another of the small stamps and Stormy Sky ink.
Stamp as you did in the step before.

Another small stamp and Cranberry ink
(the red pops)
Stamp again around the edges filling in spaces where it is empty.
Still keeping the center rather open.

Take your Focal image stamp (here the motorcycle)
and Denim ink.
Stamp into the center of the card.

Using Espresso ink and the sentiment stamp. 
Stamp onto the card in the desired spot.

There you have it.
By using ink, stamps and plain cardstock you are able to create
a unique one of a kind card.
Matte and embellish as desired.

No go pull out your stamps and inks and get to stamping.

Thanks for stopping by and have a great day!


Friday, September 13, 2013

ATCs, a Tag and a Card


Today I'm sharing several pieces which were recently seen in
Scrapbook News and Review.

While I tend to work on bigger things like scrapbook pages, art journal
pages and canvases, it's always fun to occasionally go down in size.

The first piece is a simple sympathy card.
The base is watercolor paper, layered with Washii tape and book text.
Colored with Lindy's Stamp Gang mist.
The chipboard is from Dusty Attic.


Next I have an ATC created on a Gelli print base.
I save all bits of leftover prints, and ATCs are a perfect way to use them up.
The stamp is from Hero Arts, stamped with StazOn ink and colored with Faber Castell Big Brush pens.
A white gel pen was used to add accents.


The next ATC is done on a base of pape rtowel leftover from cleaning my desk.
(yes I save EVERYTHING)
Stamped onto it with a script stamp.
Added the sentiment and a chipboard sticker from Pink Paislee. 


Here is a tag done on another Gelli print done over an old map.
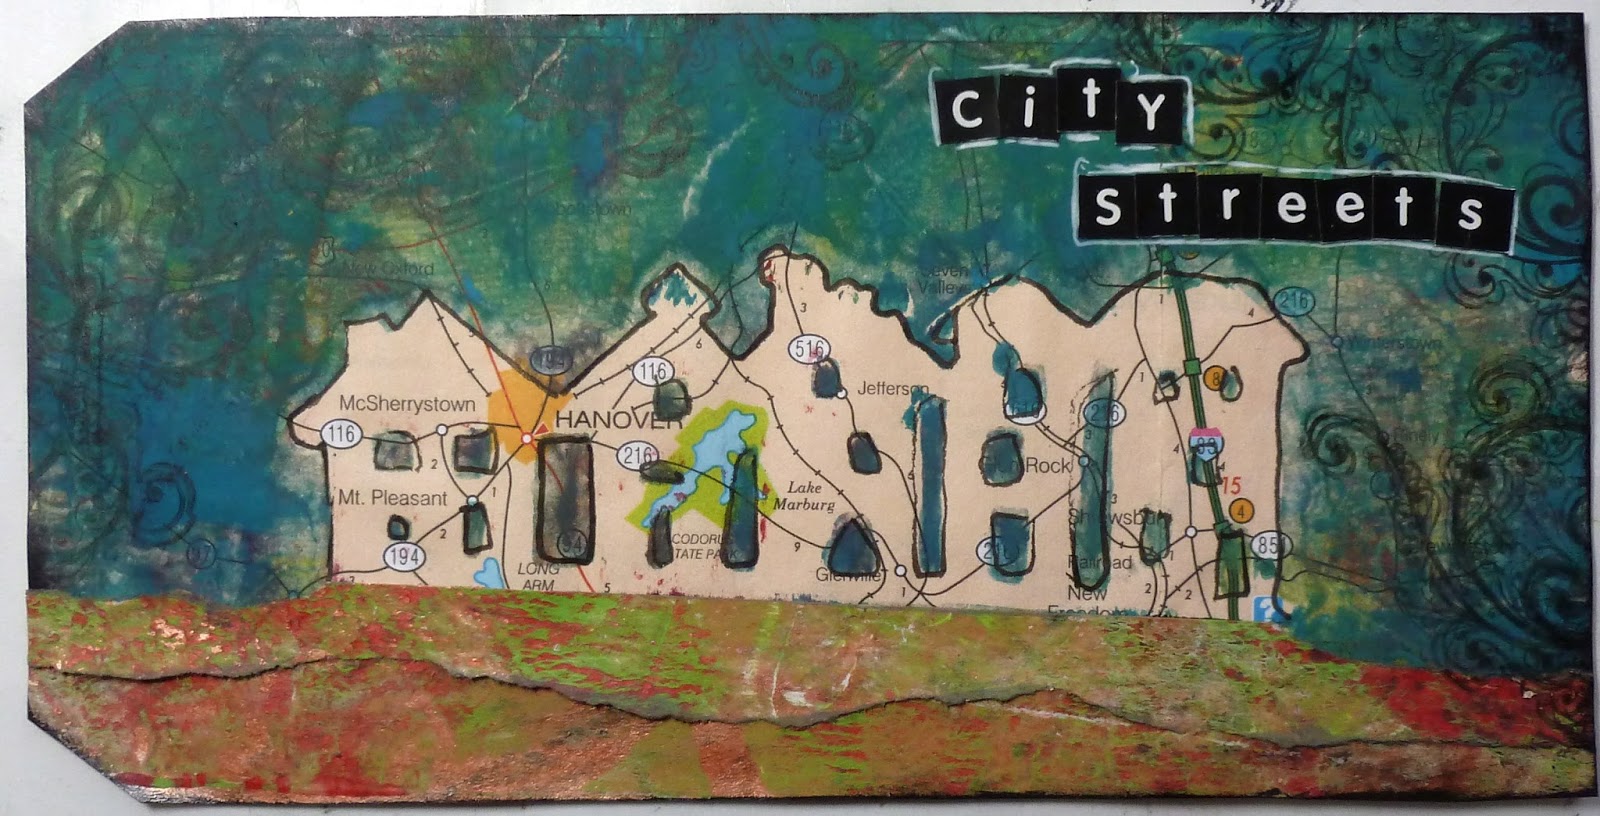
I outlined the buildings and added more torn Gelli prints for the ground as a contrast.


Last but not least is my RED ATC
done for the color theme.
I just collected red items found on my desk and collaged them onto my base.


Thanks for stopping by and have a great day!

Friday, August 30, 2013

Mixed Media Card Tutorial


Do you ever think mixed media isn't for you? Maybe you are a card maker or scrapbooker and figure mixed media techniques don't work for what you do.
Or that you need to go out and buy all new supplies to enter the mixed media world.

Well today I'm here to show you how YOU can make a mixed media card using supplies you all ready have on hand (and maybe a quick trip into the kitchen for the last one).

This is the finished card.
Doesn't look to hard, right, and with the extra materials gives it a ton of texture.

Supplies:
Patterned paper, cheesecloth, gel medium, solvent ink, tissue or sewing pattern paper, book text (or more patterned paper), card base, and a background stamp

1:Place a piece of patterned paper onto your card stock base
2: Using Gel Medium place a piece of the cheesecloth into the center of the card.

3:Tear a piece of book text (or patterned paper), ink the edges and layer over your cheesecloth, making sure some still poles out.

4: Using the background stamp and solvent ink stamp across the tissue paper.
Cut out a heart shape from it.

5:Using Gel Medium adhere the heart over all the layers. Outline with a charcoal pencil & smudge. Add your sentiment

And you are DONE!
How easy was that.

Incorporating mixed media techniques into projects like cards adds a fun new element.
Enjoy creating!

Friday, April 19, 2013

Distressing a card


If you ever look at my scrapbook layouts, you can immediately see how much I enjoy distressing my papers.
This isn't limited to layouts though, you can distress the papers on your cards just as easy.

Today I would like to share a quick tutorial on distressing papers for a card to create a shabby chic finished piece.
This tutorial was previously featured in Scrapbook News and Review.

Supplies 
Brown ink
Brown mist
several coordinating papers
Distressing tool
Make a card base 5x7 and set aside. Cut a piece of patterned paper 4.75 x 6.75" and distress all sides. Ink with the brown ink.

Cut a piece of a 2nd patterned paper 4.50 x 6.50". Again distress the sides of the paper, tearing into it heavy in some spots. Ink the edges with the brown ink.

Layer the second piece of paper on top of the first. Using your blending tool to apply more ink in spots on the paper.

Cut a piece of patterned paper 4x6", cut another piece 3.75 x 5.75".
Distress all the sides of the paper, tear in spots, then ink.

Layer the papers onto your stack.

Cut a neutral piece of patterned paper about 3x5" and distress all the sides. Ink the edges and use your blending tool to apply more ink to the top of the paper.

Add it to the stack, layering and making sure all layers are visible.

Mist the stack with brown mist. Adhere it to your card base.

Add a focal image (here I cut a butterfly from a piece of patterned paper), your sentiment, and a bit of fiber tied on the side.

Thanks for stopping by and have a great day!