Showing posts with label The Documented Life. Show all posts

Monday, June 2, 2014

Craft Hoarders Anonymous Challenge 9 meets Documented Life Project!

It's time for another challenge at 

For this challenge I combined the destashing of my stash with my love of
and created a new page in my art journal for it.
(warning this is an image heavy post, I never realized how hard it was to photograph a piece with many folds lol)
I was super excited too as this week I got to use some of my stencils from  
Stencil Girl.


                                                                 Challenge #9 Fold It
                                            Use some sort of "fun fold" on your project. 
      You can make a fun fold card, a pop-up card, an explosion box, or other type of project that makes use of folded cardstock or paper. You can share some folding techniques that are perfect for scrapbook layouts or mixed media pieces. Create a mini album with a folded binding. Fold some ribbon to make pleats. De-hoard those supplies and show us your folds....paper folds that is!
This week's challenge is sponsored by 
StencilGirl stencils are designed by artists for artists to use in mixed-media, encaustic, fiber arts, paper crafts, and so much more! The 7 mil mylar stencils are thick enough to be durable and long lasting, yet they are thin enough to provide a seamless look in your art. Made in the USA.

and


WorldWin Papers offers extraordinary paper, card stock and envelopes for all paper crafting applications. We have teamed up with leading paper suppliers from around the world to bring some of the most colorful, elegant and sophisticated paper lines available to the craft market. All of our papers provide exceptional quality and design - perfect for scrapbooking, card making, rubber stamping and paper crafting.
Visit our website, worldwinpapers.com for more information.


Here are the 2 stencils I used from Stencil Girl to create my background...

and the

Here is the background I created for my page.
I used a piece of 12x12 WorldWin card stock, and cut to my page size.
I'm really impressed with how sturdy their card stock is.
It took layers of paint and folds without even coming close to buckling, warping or tearing.
Using the map stencil first with some Liquitex Acrylic paint.
Because I rarely clean my stencils sometimes the paint and mists will mix giving me more color variations on the piece.
After I used various sections of the had stencil to create the red pattern meandering across the page.
That's the great thing about stencils. You never have to use as is, pick out parts and make them work for you.
I have to


And here is the first photo of my page.
As I said I wound up creating a page in my Documented Life planner
where the challenge 22 was ADD A HOUSE.
Well with all my folding and background making I ended up adding way more than just 1 house.
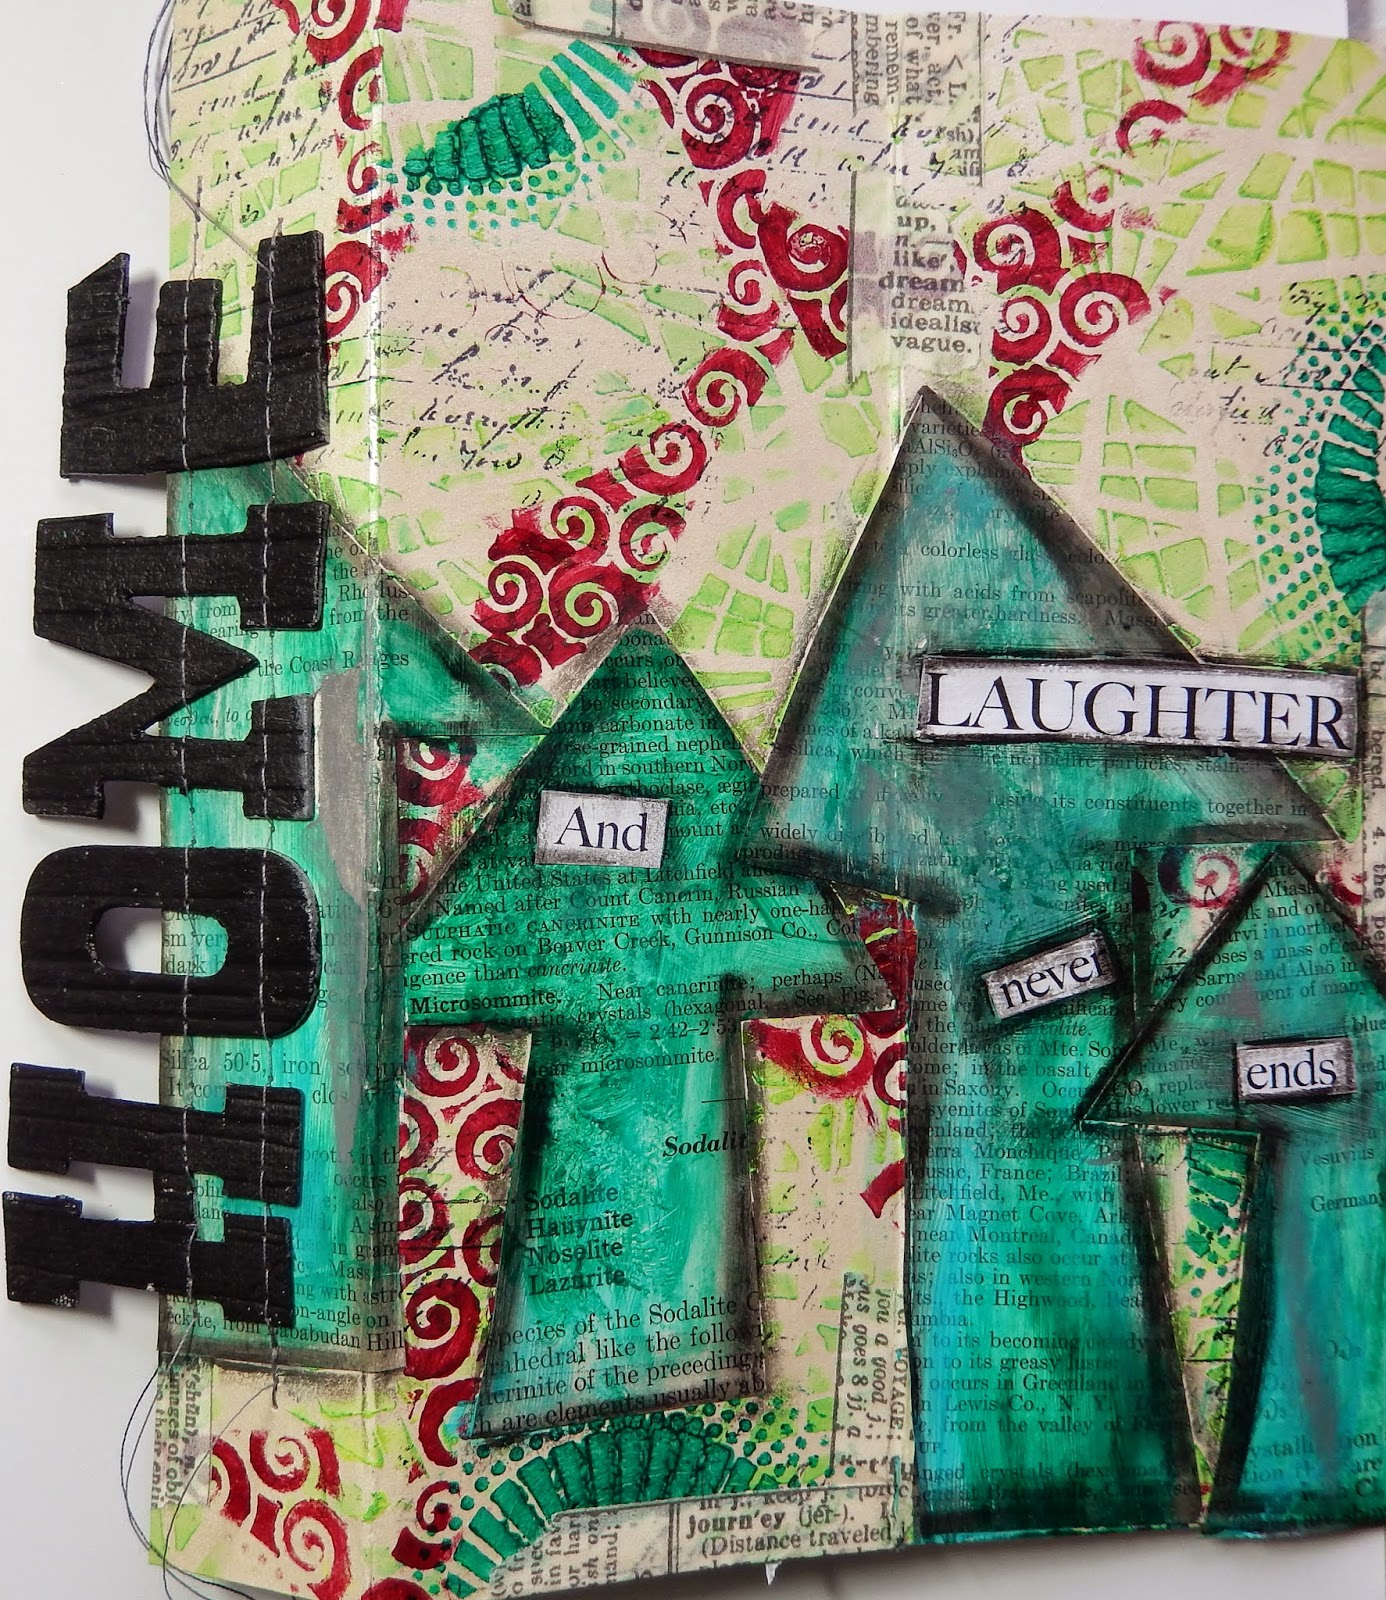
Here is the page folded flat.
The word HOME was created with Grungebord, painted black and sewn one to the smallest flap.

Open up all the flaps to see the houses…
(Cut from book text and colored with acrylic paint)

Flip the page over and get more houses.

A few closeups of the patterns created on the background,
and some of the houses.


see the fold, NO TEARING!

SUPPLIES:
Cardstock: WorldWin Papers
Stencils: Stencil Girl
Paint: Liquitex & Golden Fluid Acrylic
Washii tape
Book text & Grungebord

Make sure to stop by each Design Team member's blog
and see how they used their stamps this week.
    
    Then head over to the Craft Hoarders Anonymous blog and link up your folded creation for a chance to win THIS…
The winner will receive a selection of WorldWin papers in 12 x 12 and 8 1/2 x 11, three Stencil Girl stencils, and a DVD.

Thanks for stopping by and have a great day!


Wednesday, May 28, 2014

Documented Life Project Week 21


Continuing to work in my 
Documented Life planner.
I am a couple prompts behind and working out of order,
but the good thing about this project is 
IT IS OK!
Anyway today I am sharing week 21
May 17, 2014 - Week 21 Challenge - Add embroidery or embroidery floss to your page - no floss? use thread.

My page is fairly simple.
Today (May 26,2014) Maya Angelou passed away.
To me she was one of the most inspirational people around,
so much so my middle daughter is named after her.

I used a clean up sheet of paper as my base.
Cut a tag from patterned paper and sewed it to the background with embroidery floss.
The girl came in one of the several Happy Mail envelops that I have been lucky enough to have received.
I added a favorite quote by Dr. Angelou, some stamping
and was done.
This is my tribute to her.
The world has lost a very special voice today.


Thursday, April 3, 2014

The Documented Life Project WEEK 14!

I've been working slowly this week 
on the next challenge for 

This challenge:
March 29, 2014 Challenge - Week 14 - Write your name and embellish it.

Now my full name is Christina
But unless you are my Mother and I am in trouble
I'm going with what I have been called forever.
Christy


I started by first making my background.
Book text applied in spots with Gel Medium. 
Once it was almost dry most was peel off leaving just bits.
Golden Fluid acrylic paint brushed over.
Once dry stamped with Club Scrap stamps and Archival ink.

Onto my letters...

I wanted to completely contrast my background and wound up going
with some of my favorites in blues, greens & purple.
I worked on a 12x 12 sheet so I'd have plenty of painted scraps left over for
Happy Mail.
Golden Fluid acrylics were brushed on with a VERY wet brush.
Misting with Dylusions Crushed Grape through a Crafter's Workshop stencil
(and then just because a great big mist of Dylusions)
Stamping with  Hampton Arts & Prima Stamps.
Lake Mist Paint Dabber through an UmWow stencil
and finally some circle stamping with more Golden Fluids and a mist bottle top.

The letters were cut out free hand and glued to the background.
Each letter was outlined first with a white Gel Pen
and then a fine black Sharpie.

"Stitches" were drawn using a thicker Sharpie 
on the letters and around the border.

Finally using my new purchase of a 
Faber Castell Pitt Artist Pen in White
(totally in love!)
Added random circles around my page.


Make sure you stop by the Facebook and flickr pages to see what others are creating.

Thanks for stopping by and have a great day!


Friday, March 28, 2014

Documented Life week 13

It's time for another challenge in
project.


Week 13:
The Challenge
March 22, 2014 Challenge - Ask someone else to draw on your page - finish it!
Well ok then….


This is what I wound up creating.
My eldest did up the 4x6 zentangle.
Because I loved it so much as is all I added was the butterfly
and the document tab.
Up close;
Isn't it cool.

Lifting the flap that was held with Washii Tape.
I journaled on the back of it.
Added the Life tab (get it :front is document back is life ;) )
and another butterfly.
The die cuts are from Kaisercraft.

The opposite page in my planner was covered with Gelatos.
A layer of clear Gesso.
Then Distress Paints through a TH stencil and a 
Stencil Girl Stencil.

A sharpie pen outlined the bits from the stencil girl stencil.
Bit of stamping using a Prima stamp and Archival ink.

I love how my planner is getting chunkier and chunkier every week.

When I started this project I had no plans to follow through
(I tend to start things and never finish)
But my oh my am I loving this.
I so look forward to the new challenges each and every week.

Make sure to check out bot the Flickr page and the Facebook page
and see what everyone has done for this challenge.

Thanks for stopping by and have a great day!


Wednesday, March 19, 2014

The Documented Life Project week 12

It's time for WEEK 12
of

This week's challenge:
March 15, 2015 Challenge - Week Twelve - Cut up a magazine - add!
Easy Peasy
I started with a Gelli Print I made a while back.
Added some more stenciling on top with a Rebekah Meier stencil
from TCW and Golden Fluid Acrylic.
Used an old circle die and my Cuttlebug
 (had to dust it off first lol)
I cut a ton of various sized circles from an old magazine.

After adding the circles I covered everything with a layer of
Clear Gesso to give a uniform working surface.
Once dry I went around all the circles with a fine tip paint brush and Gesso.

Sharpie markers used to add dots.
Some stamping with a Prima stamp and Archival ink.

More doodling on the edges with Golden paint and Sharpie markers.

The words come from a pack of Kaisercraft Die Cuts.

Make sure to head over to the Facebook & Flickr pages to see how
everyone has interpreted this week's challenge.

Thanks for stopping by and have a great day!

Tuesday, March 11, 2014

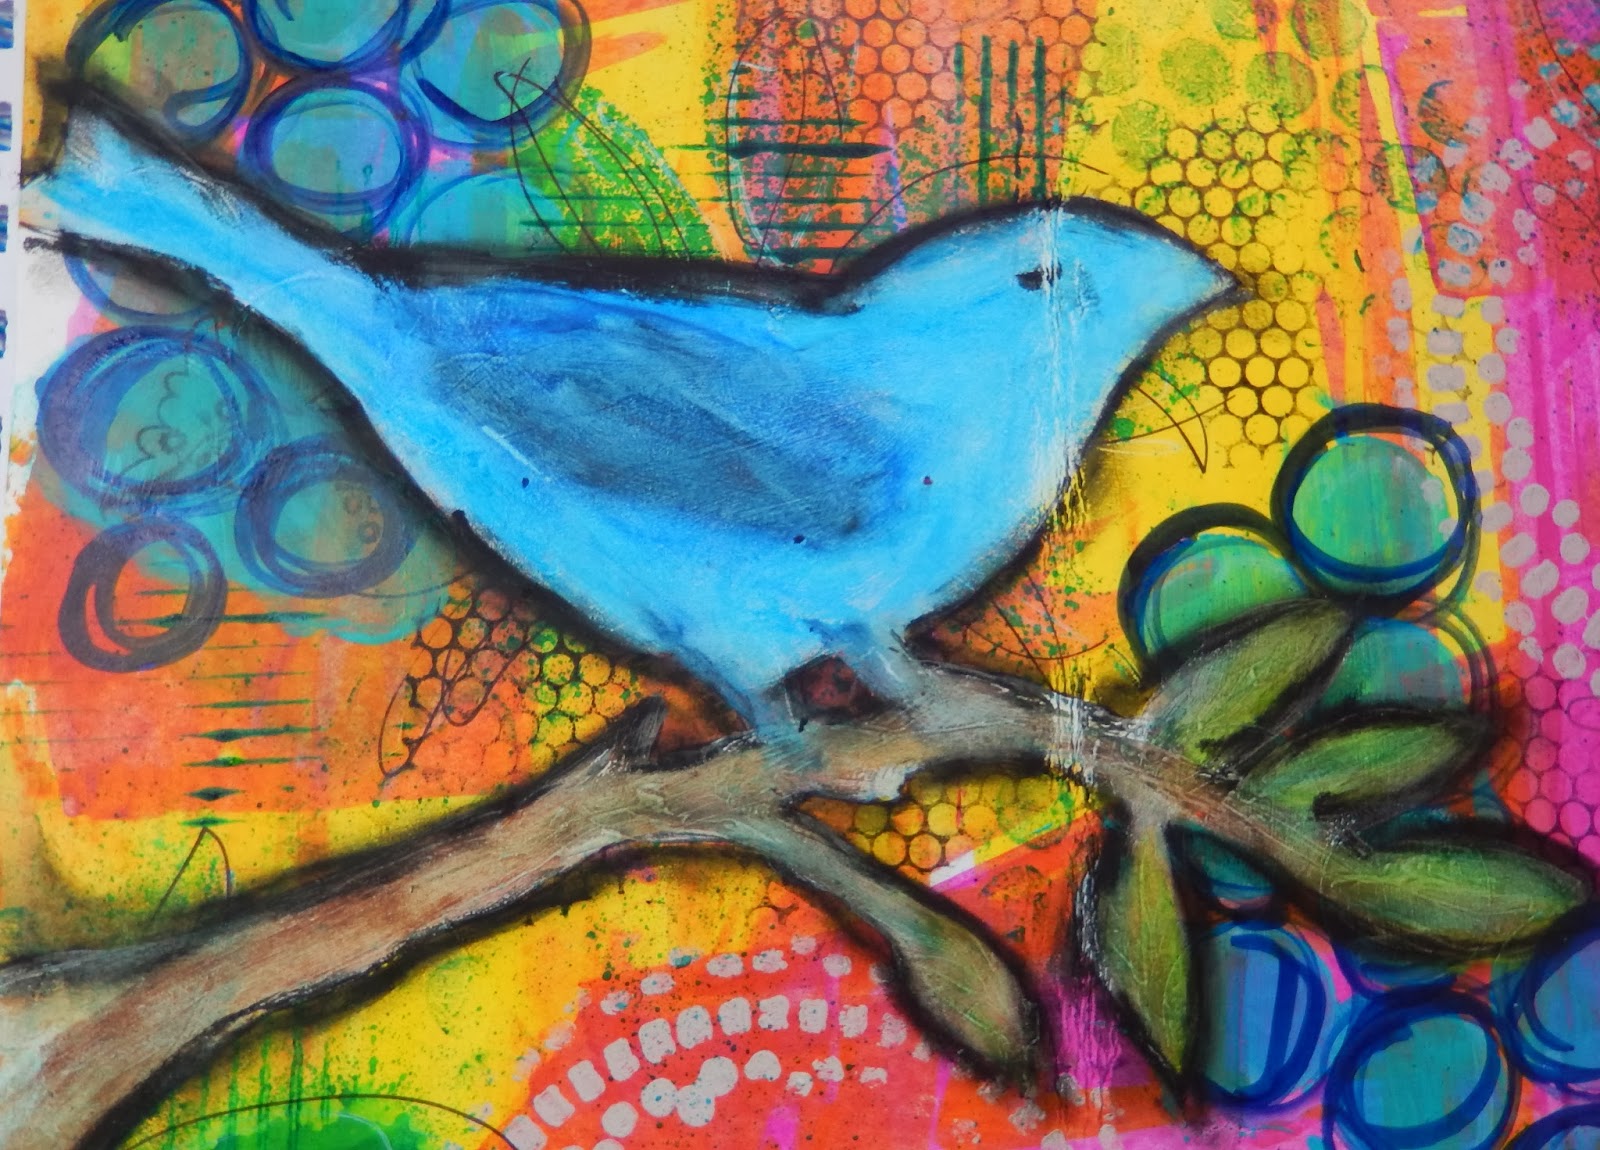
The Documented Life Week 11: Put a Bird on It!

It's time for Week 11
of

This week's challenge:
March 8, 2014 Challenge - Week Eleven - Draw, photograph or collage a bird onto your page.


How easy is that????
I was so excited to start,
and while I was working I decided to photograph it 
along the way so once again you can see exactly how I created my page.

The background began when I gave the 7 year old a task;
Pick me 2 colors (and only ONE could be pink or purple)
She brought me
Liquitex Basics in Primary Yellow & Medium Magenta.


I scraped the 2 colors randomly across the paper with an old credit card.
Then some stamping with 
Prima stamp and Archival ink.
Finally for this step some 
Golden Cobalt Teal through Large Punchinella.

Next is
Ranger Lake Mist Paint Dabber through a
Martha Stewart Stencil.

Now I outlined the circles I had created with the punchinella
using a
Prussian Blue Copic marker.
I also randomly wrote words over the paper in pencil.

Dylusions Vibrant Turquoise
was misted through a large flower stencil.
Later on I went back and outlined the petals with a fine Black Sharpie.

I stamped randomly over the paper using 
Golden Phthalo Green (blue shade)
and a Piece of Corrugated Cardboard.
Changing directions occasionally to give the impression of some cross hatching.

The bird was drawn onto the page the painted in with
Gesso.
Color was then added to the branch and bird using
Portfolio Water Soluble Oil Pastels
blending with my finger.


A quote was added using
Liquitex Arcylic ink in Carbon Black
and my pen nib.


And here is the finished page when it is open.
A piece of scalloped chipboard was paint and attached to the flap.
The flap closed:
I am just loving these colors.
Need to let the 7 year old pick for me more often.


Make sure to check out the Flickr and Facebook page for the
DLP project.
Seriously the art there will blow you away.

Thanks for stopping by and have a great day!


Tuesday, March 4, 2014

Documented Life Project Week 10!

Time for another entry for

This weeks challenge is 

March 1, 2014 Challenge (Week Ten) - Make a list of the things that make you YOU.

I used Watercolor paint as a base layer.
Stamping and stenciling on top.
The tag was created as an example piece for a tutorial to be posted on Thursday at 
Scrapping Everyday Miracles.
I used my sewing machine to attach it to my page.
The words are from an old sheet of Rub Ons.
I'm figuring that at some point I will finally use up my stash of them
(but probably not for a long time lol)

Underneath I wrote a list of 
ME things
using Liquitex Acrylic Ink and my pen nib.

There is more journaling on the backside of the tag but that is for me alone.

Make sure to check out the Flickr and Facebook page to see
how others have interpreted this challenge.

Thanks for stopping by and have a great day.

Sunday, February 23, 2014

The Documented LIfe WEEK 9!

First:
How are we already at week 9?
The year is flying by if I do say so myself.

Anyway, It's time for another challenge for

This weeks challenge
February 22, 2014 Challenge (Week Nine) - Collage something you recycled.

Now I love collaging.
Not so good with doodling or drawing but I can easily collage the day away.
I wound up going fairly simple on this one though.
It didn't seem to need anything else.
Here is sort of step by step as I created.

This time I did it on a page outside of my journal and I glued it in.
Just how I felt like working today.

I started with used paper towels from my desk.
I keep them on hand as I use paints and mists and after they dry I like to incorporate them into my work.
This paper towel even had a little sat,ping already on it.
Separated the layers (there were 2) and tore them up.
Covered the base with the paper towels and gel medium 
(layer of medium under and over the towels).

Once the Gel Medium was dry I randomly stamped with a
Hampton Art script stamp and Archival ink.
(Archival ink works well on glossy surfaces giving crisp images and is permanent once dry).

Then some Silks Acrylic glaze through a Crafters Workshop stencil
to create circles.

Once the Silks circles were dry I used a fine tip paintbrush and outlined them with
Carbon Black Acrylic Ink by Liquitex.
I then used a white gel pen and added some circles inside the circles
 (you can see in the finished piece).

Another of my recycled items.
Last week was my daughter's birthday and for a present she received some bracelets.
Now the jewelry was pretty but what I really coveted was the bag they came in.
To my collage it will be added.

I also took an old scrap of a map piece and tore a heart out of it.
I wound up liking the piece I tore it from better than the heart so that was added as well.

Machine stitching around the edges or the page,
the heart and my birds.


Decouvrez le monde
Discover the world

This came from a paper bag that was acquired on a trip to Paris.
Perfect!

I hope you enjoyed seeing how I go about creating a page.

Make sure to check out the Documented Life both on Facebook and Flickr to see what others create.

Thanks for stopping by and have a great day!