Showing posts with label The Crafter's Workshop. Show all posts

Monday, October 5, 2015

October Hopping with Craft Hoarders Anonymous!

Welcome everyone!
It's time for another hop with the ladies of 
Craft Hoarders Anonymous.

Each month on the 5th we'll share ideas and inspiration on how you can use
up your stash.


You should be coming to me from Marissa's blog .
After, head on back to Gloria's blog. 

Once a month a group of us will get together to inspire, share, and show you how to use up 
your hoard.
To start at the beginning or to get a full list of participating bloggers
head on over to Gloria's blog.

This month I used up a bunch of hoarded Gelli prints
and turned them into art journal pages for an upcoming swap.
I have such a large stack of prints that I barely made a dent in it with this project

Here is a small overview of several and below are closeups of the pages.


This first page is a pink and black base using Stencil Girl & Crafter's Workshop stencils.
Once the stars were added,  some Liquitex acrylic ink was flicked  on
and misted with water to make some drips.


The next two use a variety of stencils and multiple layers
of paint over Gelli prints.
Rub ons and Washii tape added as accents.


A blue Gelli print base combined with 
book text also gel printed to create this heart page.
The inside of the heart is lined with an Intense pencil and the word was stamped
and traced over with an acrylic paint marker.


Some Washii tape, stamping and coloring were added to this Gelli print.
The stamp is from Donna Downey,
once stamped it was traced over with an acrylic paint marker and colored in with Pitt Big Brush markers.


Another blue printed base with various
Liquitex Acrylic inks dripped down.
Rub ons were added and the heart was cut from another piece of Gelli printed book text.
The sentiment was stamped on a scrap of Gelli printed tissue paper.


Last page share.
The base is another Gelli print.
The larger blue circles were cut from a piece of Gelli printed tissue paper.
(I love using my Gelli plate with tissue paper, you get added depth from the wrinkles in the paper,
and the layers blend seamlessly in collage)


Well that is it for this month's 
Hoarders Hop.

Make to check with us every 5th of the month to get inspired on ways to 
use that hoard.


Thanks for stopping by and have a great day!

Monday, August 17, 2015

Background Tutorial...(with a give away)

Today I want to share a background tutorial with everyone.

This background will be turned into mixed media postcards for a swap I found over at
and hosted by Lisa Vollrath who can be found at TenTwo Studios .
(I have been a fan of her collage sheets for years)

Anyhoo
I am in a use up mode lately. 
Trying to use the items I have around my house rather than go buy the newest latest & greatest.
I realize over the years I have bought and bought...now I need to USE!

This background uses what I have on hand, 
nothing fancy or special today, yet in the end I have a unique background waiting to be turned into
6 postcards.
Several for the swap and several left over.
Like what you see?
Leave a comment and you may get randomly picked for a piece of happy mail from me!

So let's begin...
First up I am using a 12x 12 piece of card stock (which I have piles and piles of)
You don't need special heavy weight paper for mixed media projects, I find that card stock works well for just about everything I am doing right now.
I tore some Washii tape and added strips here and there.
Squirted on some blue Americana acrylic paint (again I love my fluid acrylics but you know what...inexpensive craft paint works just as well for these) craft 

Spread it with a brush and squirt on some green paint by Plaid Folk Art.
Using the same brush spread it around.

Some orange...

And some yellow. Again these are the paints you can buy sometimes on sale 3 for a dollar etc. 
Nothing fancy.

I still had some white space so went back in and added a bit more color.

I took a fan brush and dry brushed some Liquitex unbleached titanium
to calm everything down and blend some edges. Wipe most of the paint off on a piece of scrap paper first, I wanted just a touch of the light color.

A script stamp and Archival ink...perfect for use on paints.
It dries quick and smudge proof. Script stamps are some of my favorite ones, they find their way onto just about everything I do.

A circle stamp by Club Scrap and Teal Blue StazOn ink.

This is where a mistake happened but turn the mistake into a happy design element.
I was using a mister with water & acrylic paint inside. The mister clogged so I took the nozzle off and started flicking, until I forgot I had the open bottle in my hand and tipped it over.
Yes...I meant to do that lol

Dylusions mist through a Crafter's Workshop stencil in areas.

Stamping with numbers and Archival ink.

I went back with the same stencil and used it with Gesso this time.
In some spots I got white diamonds, others the Gesso reactivated the Dylusions mist and it absorbed and  was tinted by the mist.

I went into my drawer full of rub ons.
You know the ones I HAD TO HAVE and never use.
Well here I just applied a bunch of the little tab ones randomly around the page.
Remember this is going to be cut up so each postcard will have a similar but different background.

Lastly some Punchinella and the same yellow paint as used on the background before.
I just rubbed it through with my finger here and there.

And here is the finished background all ready to be cut up.

Remember leave a comment and you'll get entered into a random drawing for a piece of happy mail from me created using a piece of this background.
Deadline for comments to be entered in the drawing is 8/30 

Thanks for stopping by and have a great day.


Wednesday, December 3, 2014

Sketchabilities #128….Smile like no other

Another sketch has been released over on the 

This is an awesome sketch just begging for a mixed media background.
Disclaimer
the layout I am sharing is the 2nd one I created with the sketch,
The 1st one was completely ruined when I was putting finishing touches on it and knocked over a brand new top off bottle of Dylusions mist…I'll pause while you all take a moment to groan lol.
Yet in the end I am far happier with version 2.
Meant to be I guess.

Anyway,
here is the sketch.

This is my take on it.
The background paper is from 
Blue Fern Studios.
I've worked with lots of their embellishments before but never the paper.
It holds up amazing to all the wet elements I put on.

I first added pattern with a Crafter's Workshop stencil and 
Distress Ink in Faded Jeans.
My foam pad on the blending tool wasn't clean so I unintentionally got some cool shading.
Then did some stamping using several background stamps and StazOn in black.

My title is made of letter stickers and Tim Holtz word stickers.

I used Modeling Paste with a Prima large stencil for the roses & vine.
When it was dry I added some Pan Pastel in Turquoise for color.
Wanting to highlight a bit more I added some color from a Spectrum Noir marker
and then with a q-tip dipped in blending solution took most of it off.

Some light misting with Tattered Angels Glimmer Mist
in Slate.
Then more blobs of the same mist by flicking the tube.
Some Dresden foil trim, Tim Holtz rub ons, thread remnants and Prima gems finished it off.

Make sure to check out the 
Sketchabilities blog 
and see how others are interpreting the sketch.

Thanks for stopping by and have a great day!


Wednesday, November 19, 2014

Sketch 127 at Sketchabilities…Live a Beautiful Life


Sharing a layout today that was created using the
new sketch from 

This is sketch 127...
and this is what I created...
The background was an old piece of scrapbook paper covered with Gesso 
and Modeling Paste spread through a 
Crafter's Workshop stencil.
When it was dry pieces of drywall tape were added for even more texture.

Color was added first in the form of Tattered Angels Glimmer Mists
(Antique Brass, Crushed Shell & Latte)
Once the mists were dry 
Liquitex Acrylic ink in Turquoise Deep was dripped on then misted with water.
Tipping and tilting the paper allowed the color to go all over.
Dry again and then randomly swipe the paper / paste with VersaMark embossing ink, cover with 
Byzantine Bronze embossing powder from 
Lindy's Stamp Gang and melt.

The leaves are all Kaisercraft wood pieces covered with the
same Byzantine Bronze powder as what is on the background.

The little sparkly blue balls are from Petaloo pull apart clusters.
I went one step further, pulled apart and then cut.

Here you can see the texture from the paste, tape and embossing powder.

I am in love with how the acrylic ink is playing with the raised texture of the background.
Might need to do this in my art journal next!

Thanks for stopping by and have a great day.


Tuesday, November 18, 2014

Make a Mess..an art journal page.

It's another day of playing without and end result in mind.

This page was inspired by Song Li on 
the Flying Unicorn forum.
She created such a fun bold piece that immediately caught my eye and had me wanting to create.

This is what I created today.

I covered my page with Gesso and let dry.
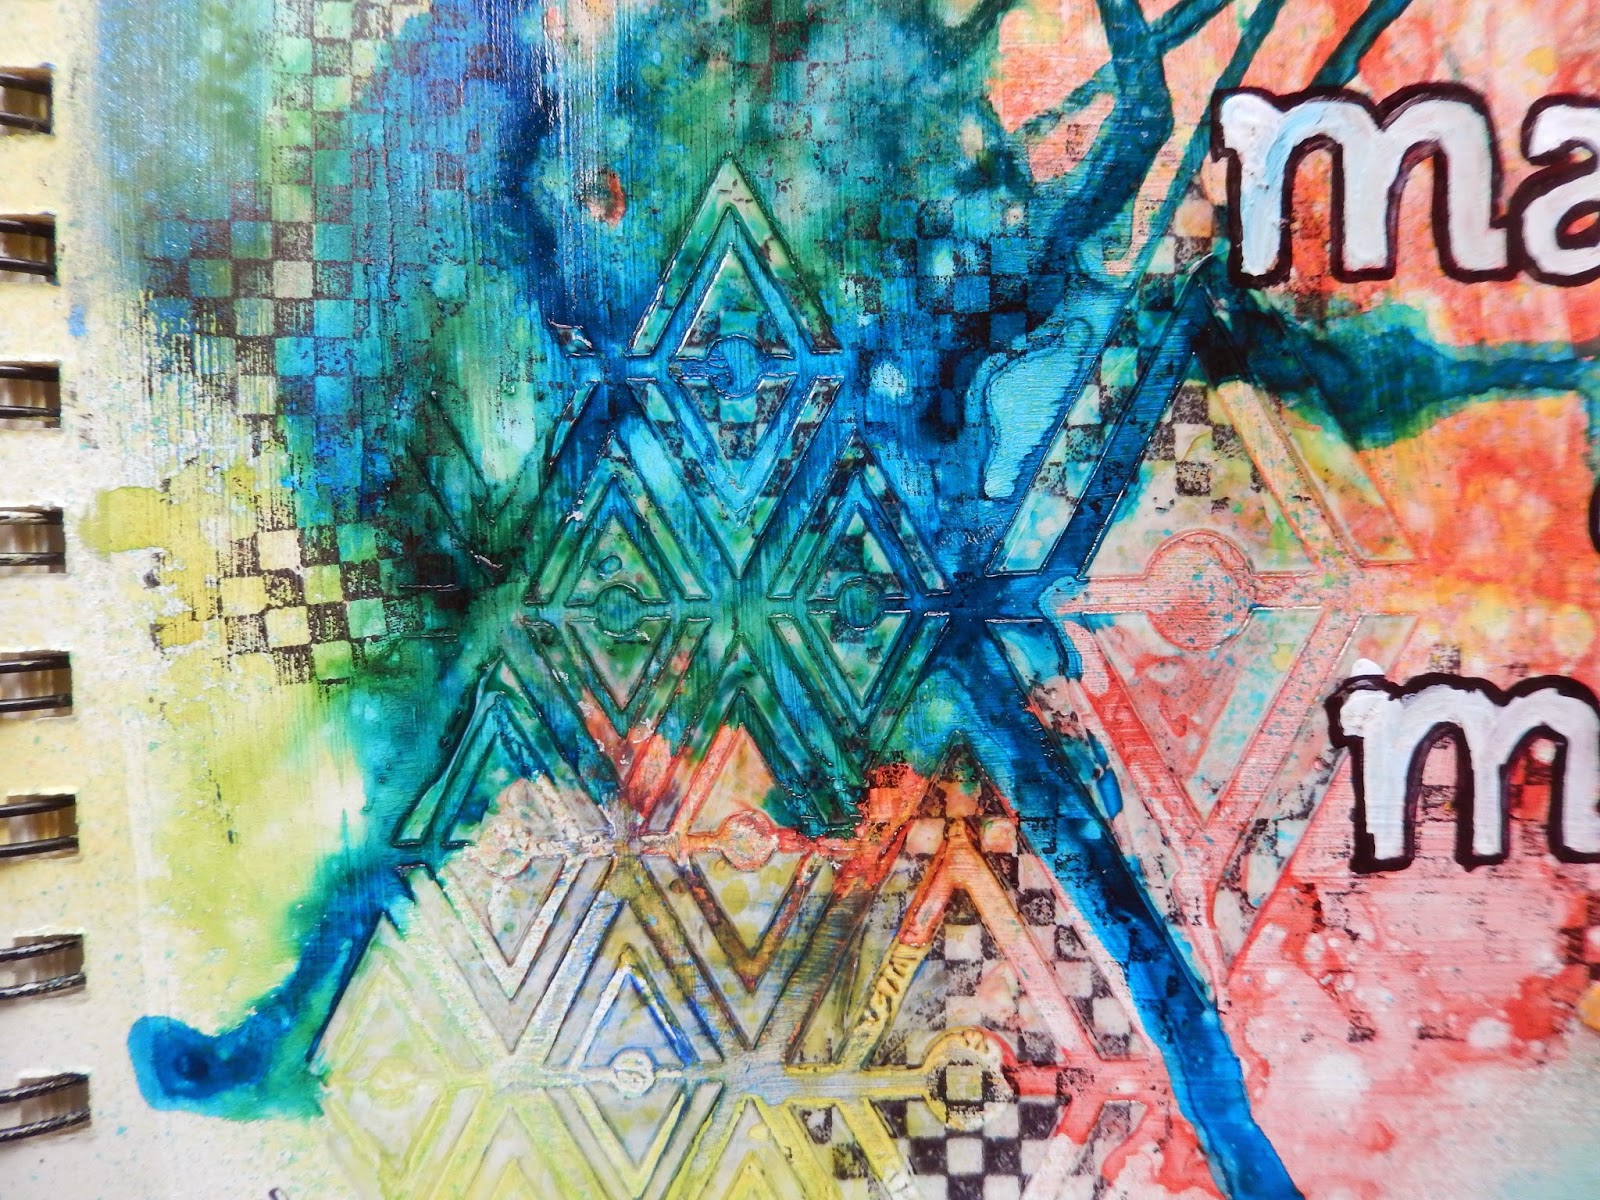
Then using a spatula I spread Gel Medium through a Crafter's Workshop
diamond stencil.
The medium will act as a resist for the water based mists I was planing on using once it is dry.

I used 3 coloring mediums here:
First I randomly misted with Heidi Swapp's ColorShine in Georgia Peach.
I love how the mist looks on the Gesso, almost mottled in appearance redder in some places, orange in others.
Making sure to dry the page completely before the addition of more color.
Then I dripped Ayeeda Ink in Sky Blue onto the page & misted with water.
The Ayeeda Ink is water based so the addition of more water caused it to drip and pool in places.
LOVE IT.
You can also see in spots where it traveled around the Gel Medium texture.

After drying the piece completely again I misted in spots with Tattered Angels Plain Jane Baseboard mist in
Plain Daffodil.
The yellow added an extra pop of color as well as mixing with the previously applied colors.
I used my heat gun before the last mist could reactivate the others too much.

Some stamping with a check stamp and StazOn ink.

The title was created by placing stickers down, tracing with a Sharpie marker, and then removing the stickers.
Using a fine tip paintbrush and Gesso I colored in the letters.
I had to go with this title, as I was playing I definitely made a mess, 
but it was oh so fun.

So go ahead…make a mess :)

That's it for today.
Thanks for stopping by and have a great day!

Monday, November 3, 2014

Craft Hoarders Anonymous Challenge 19…FOR ALL YOU DO, THANK YOU! and blog hop with the My Artistic Adventures team

It's a new month and time for another challenge at 
                                             Challenge #19 For all that You do, Thank You! 
        Create a "thank you" gift for this challenge. It can be a Thanksgiving hostess gift or a simple thank you card. It can be a "thanks for helping me out of a jam" present, or a "thanks for being you" scrapbook layout. As long as your project says, "THANKS," enter the challenge!
                    We want to see you de-hoard some of your stash and say thanks to someone!
                                         (Your project does not have to be Thanksgiving-themed!)

Special this month we are also doing a blog hop with the team at
My Artistic Adventures.

Heather Hudson provided us all with some dynamic collage images to work with this month.
The design teams from both blogs are hooking up and hopping together.
Make sure to check out everyone's links at the bottom.
I created a thank you tag that can be attached to a hostess gift.
After I photographed this it went onto a bottle of wine for my neighbor.
(she hosts the most fabulous parties!)

The stars on the background all come from a Christmas sheet 
found in Heather's store.

I used chipboard from Dusty Attic colored with Maya Road mist.
A little piece of leftover scrapbook paper to create a small banner for my sentiment.

You can see more of the stars here.
The background was torn book text covered with Gesso and Golden acrylic paints.
Some random circle stamping, then the stars were added.
I outlined all of them with a Black Soot Distress Marker and smudged with my finger.

I colored some Modeling Paste with more acrylic paint and used it with a Crafter's Workshop stencil to give a bit of dimension.
Some colored seam binding used to make a large bow.

Supplies:
Golden Acrylic Paints; Gesso; Dusty Attic chipboard; Modeling Paste; Crafter's Workshop Stencil; Heather Hudson collage images; Distress marker; Maya Road mist

This month's prize sponsor is 
Heather Hudson and My Artistic Adventures
Blog: http://heatherahudson.blogspot.com/ Youtube: http://www.youtube.com/user/heatherahudson/videos Etsy: https://www.etsy.com/shop/MyArtisticAdventures

Stop by Heather's site and see all the cool images she has to work with.


Check out what the Craft Hoarders Design team has created
                                                                     Glenda Brooks
                                                                     Gloria Stengel 
                                                                 Jan Marie Ennenga
                                                                   Karen Zueger
                                                                  Kathy Clement

Then make sure to visit the Artistic Adventures team
                             My Artistic Adventures Challenge Blog
                                       Helene
                                       Shawn
                                       Carol
                                       Lisette
                                       Sandi
                                       Candy
                                             Heather

Once you have done all the hopping head back to Craft Hoarders Anonymous and link up your project.
                                                               You have 2 weeks!

                                        Thanks for stopping by and have a great day!

Tuesday, October 28, 2014

Use Your Magic

Sharing an Art Journal page today.

This one came about while I was working on a canvas piece.
I was using a blank page in my journal to clean the paint off from my brush as I worked.
(bonus: doing this gives you a ready made background next time you want to work in your journal)

Anyway as I worked on the canvas I was drawn more and more to my journal.
To the point the canvas is sitting on my desk waiting to be finished.

I had an idea for the page and I had to go with it.

I used Liquitex acrylic paints for the background.
There wasn't a whole lot of thinking at that point, it was all about not wasting paint.

My butterfly was created using a Crafter's Workshop stencil.
I traced it then filled the inside with tore book text.
A light wash of Gesso and then added color with my Gelatos,
blending as I went with my finger.
I used the second part of the stencil to overlay the swirls using Silk's Acrylic Glaze 
and finally outlining with a black Gelato.

Black Marble Dylusions mist through a number stencil in random spots.
The black has got to be one of my favorites as for how dark it stays.
There is also lots of random stamping using several stamps and inks (Staz-On and Distress inks)

The words were stamped on tissue paper and then adhered to the page.
I was watching an episode of Project Runway the other day.
In it Tim Gunn and one of the designers were sitting by the water talking and these words were stenciled on a rock.

From the moment I saw them I knew I had to use them.
We all have magic, we just need to use it.

That's it for today.

Thanks for stopping by and have a great one.