Showing posts with label Pan Pastels. Show all posts

Wednesday, December 3, 2014

Sketchabilities #128….Smile like no other

Another sketch has been released over on the 

This is an awesome sketch just begging for a mixed media background.
Disclaimer
the layout I am sharing is the 2nd one I created with the sketch,
The 1st one was completely ruined when I was putting finishing touches on it and knocked over a brand new top off bottle of Dylusions mist…I'll pause while you all take a moment to groan lol.
Yet in the end I am far happier with version 2.
Meant to be I guess.

Anyway,
here is the sketch.

This is my take on it.
The background paper is from 
Blue Fern Studios.
I've worked with lots of their embellishments before but never the paper.
It holds up amazing to all the wet elements I put on.

I first added pattern with a Crafter's Workshop stencil and 
Distress Ink in Faded Jeans.
My foam pad on the blending tool wasn't clean so I unintentionally got some cool shading.
Then did some stamping using several background stamps and StazOn in black.

My title is made of letter stickers and Tim Holtz word stickers.

I used Modeling Paste with a Prima large stencil for the roses & vine.
When it was dry I added some Pan Pastel in Turquoise for color.
Wanting to highlight a bit more I added some color from a Spectrum Noir marker
and then with a q-tip dipped in blending solution took most of it off.

Some light misting with Tattered Angels Glimmer Mist
in Slate.
Then more blobs of the same mist by flicking the tube.
Some Dresden foil trim, Tim Holtz rub ons, thread remnants and Prima gems finished it off.

Make sure to check out the 
Sketchabilities blog 
and see how others are interpreting the sketch.

Thanks for stopping by and have a great day!


Saturday, November 15, 2014

Be You…BE BOLD!

Sharing another art journal page today.

This one was inspired by a challenge over on the
The Art Journal challenge is held every month and is always a favorite of mine to play along with.
Song Li is hosting this month and her challenge was to
GO BOLD.


Love it!
This was the first piece I created.
I combined Paint, Mist, Stamping, Modeling Paste, Stencils, Pan Pastels,
old felt flowers, cheesecloth, doilies, and last but not least dry wall tape.
PHEW….
I also thought I would share a bit of step by step as I went about creating.
Keep on scrolling to check it out.
To begin I adhered doilies, felt flowers,
cheesecloth & tape to my page.
I then covered everything with a layer of Gesso to give a neutral base.

Once the Gesso dried I misted the page with Vibez Jeni B Blue 
by Shimmerz paints.
Using a wet brush I spread color over the whole page,
then misted more to get some drips.

Did some large splatters with Liquitex Acrylic ink and a dropper.
As I dried the ink I blew it across the page some more.

Once all the ink was dry I stamped randomly with 
StazOn and a check stamp.

Modeling Paste through a Crafter's Workshop stencil.
I then dried the paste with my heat gun to give it a bubbly texture.
When the paste was completely dry I colored it with Orange Pan Pastel.
Since I knew I would add more layers I quickly sprayed the page with workable fixative.
This allows me to continue to layer but preserves the Pan Pastels as it is.

I took watered down purple paint in needle nose bottle 
and scribbled across the page.

My letters were covered with black embossing powder,
melted then outline with a Montana Acrylic Paint marker

A few closeups….


And that is how I went bold today.

Make sure to stop by the forum and see how everyone else is doing.

Thanks for stopping by and have a great day!


Monday, May 5, 2014

Craft Hoarders Anonymous Challenge 7!

It's time for another challenge at

                                          Challenge #7 Ribbon, Lace, and Twine, Oh My!
Show us your fiber side! Use ribbon, lace or twine on your project. Dig into your hoard and share how creative you can be with fibers! You may use ribbon, lace, twine, embroidery floss, string, yarn, fabric, etc. As long as you have something in the "ribbon" family on your project, you are good to go!


This is what I created using my 
packet of yellow & grey coordinating ribbons
from the April club assortment from

I used the ribbon instead of paper creating a matte for my
photo and sewing the strips onto my paper.
                              
The background is created
by stamping with Pan Pastels,
dripping Golden Fluid Acrylic paint and finally
scraping Modeling Paste through a Crafter's Workshop stencil
then coloring it with Pan Pastels once dry.

                               
                                                 Here you can see some of my ribbon strips,
                          as well as chipboard from Blue Fern Studios painted with fluid acrylic paint.

                             
                                                               More of my ribbon strips.
                                 I stamped the sentiment (Sin City Stamps) onto a leftover piece
                                                     of the ribbon then adhered it to my photo.
                             
Supplies:
Acrylic Paint: Golden
Modeling Paste: Liquitex
Flowers: Recollection
Chipboard: Blue Fern Studios
Stencil: Crafter's Workshop
Ink: Ranger
Stamps: Kaisercraft, Sin City, & Fontwerks

This month we are lucky enough to have 2 challenge sponsors!
 has been meeting the ribbon needs of crafters, wedding planners, rubberstampers, scrapbookers and the artistic community for over 10 years.  We offer great wholesale pricing on full spools of many of our styles, and really reasonable discount retail pricing on ribbon by the yard.

Our large selection of ribbon styles includes a variety of colors and widths in grosgrain, organza, seam binding, gingham, satin, ric rac, twill tape, velvet, bakers twine, jute and much more including a large variety of mulberry flowers from Wild Orchid Crafts.

We offer convenient online shopping, FAST shipping and GREAT ribbon prices.

You can also visit our blog www.reasonableribbon.blogspot.com for daily posts with creative projects featuring ribbon along with two fun challenges on the 1st and the 15th of each month.
is offering 2 of their ribbon packets


and 
Sin City Stamps, owned and operated by Donna Harrison in Las Vegas Nevada, manufactures deep etched red rubber stamps, laser cut stencils, masks, chipboard pieces, page layouts, die cuts and chipboard books.


Make sure to stop by each Design Team member's blog
and see how they used their stamps this week.
                                         Donna Idlet - http://myblogidlet.blogspot.com/
                                         Glenda Brooks - http://glendabrooks.blogspot.com
                                         Gloria Stengel - http://gloriascraps.blogspot.com/
                                         Karen Zueger - http://lostcoastscrapper.blogspot.com
                                         Pam Bray - http://www.pammejoscrapbookflair.com/
                                         Tammi Bennett - http://www.tjsmemoriesblog.blogspot.com/
                                         Amber Milone - http://pinkchicpaperdesign.blogspot.com/
              you are here-----Christy Butters - http://creatingwiththegirls.blogspot.com/
                                         Debbie Seyer - http://www.debbieseyer.com/
                                         Ginny Nemchak - http://pollyspaper.wordpress.com/
                                         Jan Marie Ennenga - http://re-creations4him.blogspot.com/
                                         Kathy Clement - http://www.kathybydesign.com/kathy-by-design-news/


                                           and for even more fun make sure to check out the
                                   Design Team at Sin City as they join up with us for a blog hop.
                                          Barbara Rankin
                                          Karen Lackey
                                          Linda Hess
                                          Lisa Mita
                                          Peggy Oliver
                                          Robin Redd


Sin CIty is also offering a special this month,
use the above code and save on your next order.
Hurry though,
May is flying by.


Monday, March 17, 2014

Craft Hoarders Anonymous Challenge 4…Show your sparkly side!

It's time for another challenge at Craft Hoarders Anonymous!
Can you believe we are already up to 
the 4th challenge?
Thanks to everyone who has shared their art,
and to those who haven"t….
What are you waiting for ?
Use your stash so you can shop some more ;)


                                                   Graphic 45 is our sponsor this month. 
                          They are known for their fabulous vintage products and papers. 
                                             To pay homage to their glamour and style, 
                              create a project that shows off your hoarded sparkly items.                       
  Show some glitz. Pump up the glam.
                                                Use this photo collection for extra inspiration.
 One lucky person will win this AWESOME
prize (did I say awesome yet) pack 
from 


Graphic 45 is an award-winning scrapbook and paper crafting company­— owned and operated by a mother (Diane Schultz) and her two daughters (Aimee and Charee Filimoehala). Together they create vintage inspired crafting products that capture the flamboyant style of the 1920's and 30's - with vibrant color, irresistible texture and imaginative design to create products with decades-old appeal that's both fresh and familiar. Let our products inspire your next scrapbook layout, card, album or home decor project. Please visit the Graphic 45 Website or Facebook page for more information.


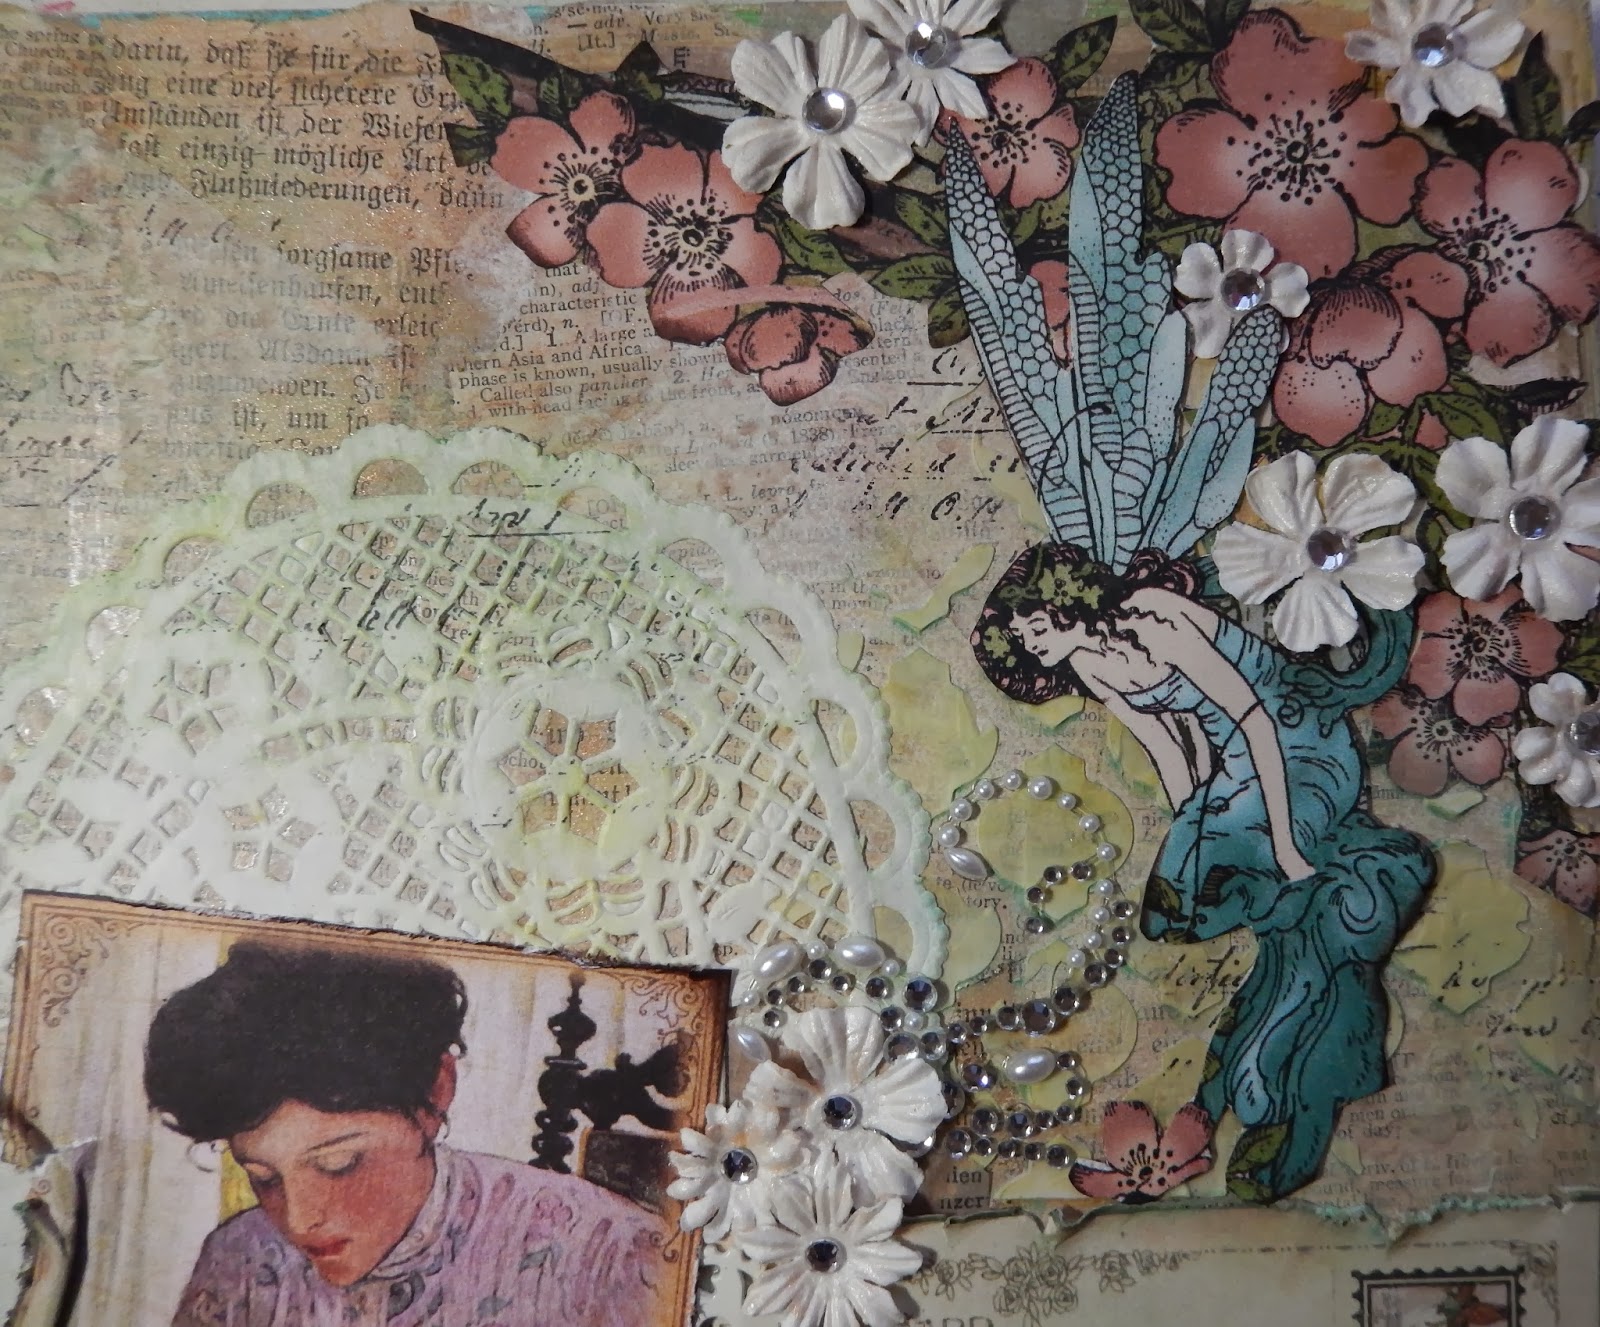
And here is the project I created.
I used a wood panel from Kaisercraft and went to town.
Graphic 45 Once Upon a Springtime
and
A Place in Time 
were used.
The coloring on the background was done first with 
Lindys' Stamp Gang Moonshadow Mist.
Followed with Modeling Paste through a Donna Downey stencil, 
and finally Pan Pastels over the whole piece.

Many of the images (i.e. the bunnies, pink flowers and fairy)
were fussy cut from my very last sheet of 
Once upon a Springtime.
(I think it was the very first Graphic 45 paper I ever bought)
The image of the mother and baby came from 
A Place in Time.

I love how both the bunny & fairy seem to be 
looking at them.

Little tiny Prima flowers and metal findings are on the panel.
Rhinestones from Couture Creations are in the center of each.
Prima flourishes were also cut up and tucked under bits
to pump up the glitz.

Supplies:
Kaisercraft wood panel
Graphic 45 paper: Once Upon a Springtime & A Place in Time
Pan Pastels
Lindy's Stamp Gang Moonshadow Mist
Distress Paint, Gesso
Donna Downey Stencil
Prima: flowers, metal findings, flourishes
Rhinestones: Couture Creations
Book Text, Washii Tape & Doily

Make sure to check out what the rest of the design team has done for this challenge
                                         Donna Idlet - http://myblogidlet.blogspot.com/
                                         Glenda Brooks - http://glendabrooks.blogspot.com
                                         Gloria Stengel - http://gloriascraps.blogspot.com/
                                         Karen Zueger - http://lostcoastscrapper.blogspot.com
                                         Pam Bray - http://www.pammejoscrapbookflair.com/
                                         Tammi Bennett - http://www.tjsmemoriesblog.blogspot.com/
                                         Amber Milone - http://pinkchicpaperdesign.blogspot.com/
              you are here-----Christy Butters - http://creatingwiththegirls.blogspot.com/
                                         Debbie Seyer - http://www.debbieseyer.com/
                                         Ginny Nemchak - http://pollyspaper.wordpress.com/
                                         Jan Marie Ennenga - http://re-creations4him.blogspot.com/
                                         Kathy Clement - http://www.kathybydesign.com/kathy-by-design-news/

and make sure to head HERE 
to link up your project for a chance to win this awesome prize pack.

Saturday, November 16, 2013

Every Days Journey….


It's no secret that my kids are the epicenter of my world.
I thought it would be fun to do a page in my journal showcasing THEM.

I did up this Art Journal page using Pan Pastels, Modeling Paste and a bit of mist for the background.
Just something quick laying color and texture down without any initial planning.


There were some scraps of paper laying on my desk with became the base for the photo.
Stacking random lengths, patterns bits and bobs is an easy way to use up scraps and add color and dimension to your page.

The finishing piece is a metal heart I created using wire around the photo.
I hand tacked it down with thread to the page (my glue wandered away again lol).

The title was half stamped and half handwritten incorporating some of me onto the page.

Thanks for stopping by and have a great day.

Wednesday, August 28, 2013

Pan Pastel Play


                           Tags are an easy way to get a feel for a new product. 
 They're big enough that you aren't constrained by working on a small space yet small enough that they don't take a lot of product or time.


    I used one of the hottest products in the crafting market right now on this tag: Pan Pastel. They're easy and fun to use, they blend seamlessly, can be layered and used with a variety of mediums and best of all, mistakes can be quickly erased.

To learn even more techniques, check out my Pan Pastels for Scrapbooking class. 


In this tutorial, I'll show you how to create a fun tag using several Pan Pastel techniques as well as a bit of stamping.

PanPastelSuppliesCB.jpg


Supplies
Tag
Pan Pastels in: Ultramarine Blue Tint, Turquoise, Ultramarine Blue Shade, Pthalo Blue Shade, and Diarylide Yellow Shade
Watermark Ink
Stencil
Sequin waste
Pan Pastel applicators or Foam makeup sponges
Assortment of stamps
Black Archival ink

PPS1CB.jpg


Step One: Place your tag on your work surface and with a sponge applicator, cover the entire tag with Ultramarine Blue Tint. Apply it to the tag in small circular motions. Using the same sponge apply Turquoise Pan Pastel over, but not completely covering the first layer. Again use small circular motions to blend the colors.

PPS2CB.jpg


Step Two: Take the Pthalo Blue Shade and using small circular motions, apply it in random spots on the tag for highlights.

PPS3ACB.jpg


PPS3BCB.jpg


Step Three: Place the sequin waste onto your tag and using Ultramarine Blue Shade, apply it randomly with your sponge across the tag. Lift and move the sequin waste around the tag and apply more of the Pan Pastel until you're happy with your coverage.

PPS4ACB.jpg


PPS4BCB.jpg


Step Four: Place the stencil onto your tag and with a small dabber sponge and watermark ink, apply the ink through the stencil across the tag. Lift and move the stencil as needed reapplying the ink until you are happy.

PPS5CB.jpg


Step Five: Lightly apply Ultramarine Blue Shade Pan Pastel across the watermark ink and the Pan Pastel will stick to the watermark ink.

PPS6CB.jpg


Step Six: Use the sponge to apply Dairylide Yellow Shade randomly across the tag, blending lightly as you go.


Step Seven: Stamp across the tag with Archival ink.

As a finishing step, I lightly distressed the edges of the tag and applied Pthalo Blue Shade. I usually use ink for this step but the Pan Pastels look great, too.

I hope you enjoyed this quick tag tutorial. 

Remember if you want to learn even more ways to use Pan Pastels on your scrapbook pages make sure to head on over to The Art Studio and check out my 

  Thanks for stopping by and have a great day!