Showing posts with label Ultimate Designer Challenge. Show all posts

Thursday, February 21, 2013

Swirlydoos Ultimate Designer Challenge WEEK 6

It's time for the 6th and final challenge of the Swirlydoos Kit Club Ultimate Designer Challenge.

The last 6 weeks have been an amazingly creative challenge and I thank the Ladies at the forum for hosting it.

This being week 6 the challenge was upped. You needed to A: use the following sketch AND B: incorporate the following techniques/ themes
Create your own background, layer mediums, mist etc.
Paper layering & distressing
Multiple photos, best clustering
AND
technique of your choosing 
(I altered chipboard)

This is the sketch we used, created by Beggahuna.
And this is how I went about creating my layout.

First I completely covered a 12x12 piece of watercolor paper with scraps from past Swirly kits and book text. The watercolor paper will prevent warping from occurring as I layer on mediums.


I then took an old credit card and swiped a layer of Gesso over the whole thing. Not to hide the patterns but tone it down and give it a uniform feel.

While the Gesso was still wet I misted it heavily with South Shore Sand mist from Lindy's Stamp Gang. I then dried the paint & mist with my heat gun.
I then pulled out my new favorite blue mist Tiffany's Blue also from LSG and misted randomly over the background.


Using a Pink Paislee stamp and a Prima stamp along with StazOn ink I stamped randomly over the bg. I used Stone Grey ink as I wanted it to sink into the background a bit instead of popping off.

I misted some cheesecloth with Crushed Shells glimmer mist from Tattered Angels and used Gel Medium to adhere it to my bg. I also traced a circle so I would have a reference point as I continued to build my lo.

More stamping, this time with a script stamp from Kaisercraft.  I also began tearing and layering paper from 7 Dots Studio as well as some Washii tape.

A few border stickers from 7 Dots Studio were also applied over the tirn paper layers and in the upper left corner. Chalk ink was rubbed through a Crafter's Workshop stencil in spots for more layer.

I took my sewing machine and sewed on a circle of lace over my drawn circle. I then took Modeling Paste and put it through a snowflake stencil also from Crafter's Workshop in places.

I altered chipboard from Dusty Attic (snowflakes I had been hoarding) by first painting with Lake Mist paint dabber, then stamping on once dry with a script stamp and StazOn. I then covered with watermark ink and Holographic embossing powder to give it sparkle but still show the underlying pattern.
Once all the chipboard had been altered I layered it with my photos and some flourishes I cut into pieces. 
I also used my palette knife to apply Clear Granular Gel in spots. Once that dried I covered it with white Gelato to mimic snow.
The final bit was my tittle. Cork letters by Little Yellow Bicycle which I also rubbed white Gelato on again for the snow look.

Finally I was finished. I matted it on a piece of dark brown card stock to give an almost framed look and distressed the edges rubbing on some final brown ink.


A few closeups:
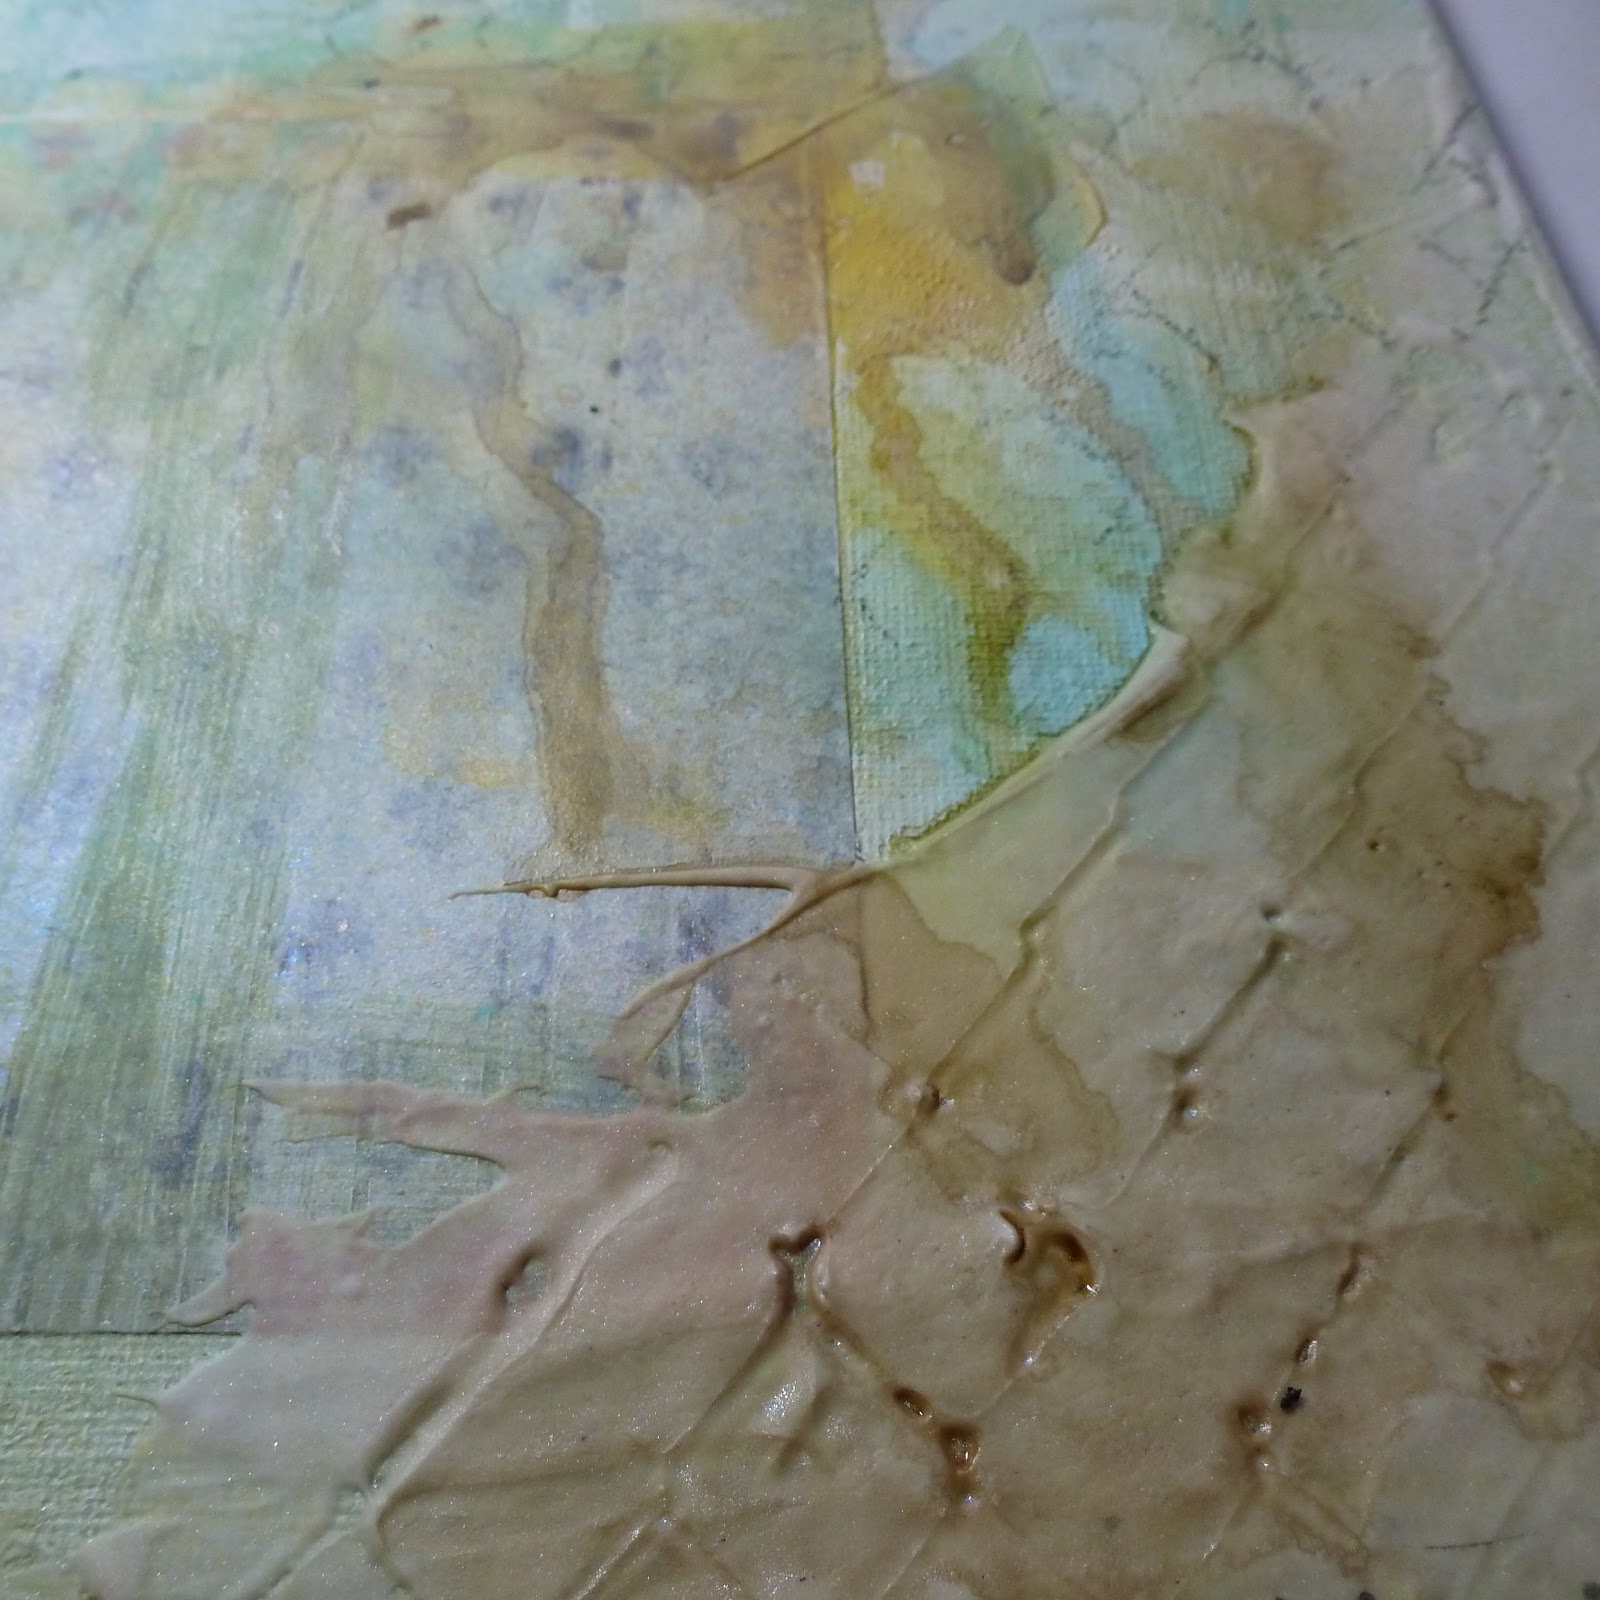
here of some layering and paper tearing


here of the Modeling paste and chipboard

My cheesecloth, cork letters and Granular Gel


and just a shot that makes me happy. The grinning face of the little one


  6 weeks of challenges have come and gone. This has been a wonderful inspiringly creative time. I'm so glad I clicked on the "join now" button.


Thanks for stopping by and have a great day!

Thursday, February 14, 2013

Swirlydoos Ultimate Designer Challenge WEEK 5


This week's challenge was to create ART JOURNAL pages using paper scraps. You need to incorporate all sorts of left over bits and pieces from scrapbook layouts, masking, layering, doodling and more.

I found that once I started this challenge my mojo took over and had a blast (while creating quite a mess in the process)
I started with a pile of patterned paper scraps. To add to it I took some of the larger pieces and cut them 9.5 x 11 inches, folding and sewing to make a signature measure 5.5 x 9.5".

I started thinking I would do a page or two but wound up filling the entire signature.

My muse for this project was a piece of 7 Gypsies paper from the Trousseau line that had all these vintage images on it.

This is the first page. On the bottom is an envelope that has a pull out tag in it.

By layering the paper and then covering it with a wash of Gesso then misting it doesn't matter if the patterns on the scraps match or not, it all blends together.

Using Modeling Paste through stencils also adds some really nice texture to your pages, You don't need a lot as a little goes a long way.

Adding a bit of lace or fabric in is also another fun way to add some texture.

 I love sewing on my pages with my sewing machine as well. For this project I sewed on them before adding them to the signature, other times I'll sew right onto the pages and have stitching on both sides.

Layers, layers, layers...

Some pages I made into a 2 page spread. Not only did I use Modeling Paste through a stencil here I also used ink through a different stencil.


Stamping randomly with a script stamp and StazOn over the layers adds a neat touch.

Life is good.
The final spread. I also free hand cut a heart out and use both the positive and negative of it. Doodling around both pieces.

 I hope you can see that Art Journaling doesn't require special products....Even the tiniest scraps from your scrap bin can make some beautiful pages.

 Thanks for stopping by and have a great day!

Friday, February 8, 2013

Swirlydoos Ultimate Designer Challenge WEEK 4


It's time for week 4 of the Swirlydoos Kit Club Ultimate Designer Challenge.
For week 4 the challenge was this
Create a TEXTURED CANVAS project, wherein you create your own background using the following techniques and mediums:
  • Layering of your mediums
  • Misting
  • Use a mask or template
  • Various texture mediums (Glass beads, modeling paste, gesso, molding paste, etc) Think TEXTURE & LAYERING of your mediums.
  • Paint (doesn't matter what kind)

Needless to say I was excited. I love working on canvases but never seem to have the time. I got to play all week because of this challenge. YAY!!!

This is my finished canvas. I wound up doing a 12x12 size just because it's not a typical one that I work on.

Below is photo of most of the supplies I used. Not show is the chicken wire stencil from The Crafter's Workshop, Paint Dabber in Lake Mist, Gesso,  some stamps, and the various dies & embossing folders I used.

All the paper is from 7 Gypsies and really worked with the look I was going for.

After covering my canvas with 2 coats of Gesso I placed some torn book text and scraps of 7 Gypsies paper down, then covered with another light layer of Gesso. I misted it heavily with mists from both Lindy's Stamp Gang and Tattered Angels. Using a foam brush I added Golden Glaze in Seafoam Green over spots and when it was dry I then stamped in spots with a Prima stamp and StazOn.


I then took my Modeling Paste and applied it heavily in the upper left and lower right corners of my canvas and pressed in a piece of Dusty Attic chipboard to give it the texture I wanted. When it was dry I misted it again.

I then layered some tags and scraps of patterned paper that I had misted and inked. Then using my chicken wire stencil and Dry Sand ink from Prima added more pattern to my background.

I added some Washi tape in spots and then added my image (also from a piece of 7 Gypsies paper). I then used my palette knife to randomly apply Granular gel in spots. It's white when you first put it down but as it dries it becomes mostly clear with a lot of shimmer and texture. Once it was completely dry I went over it with some Gelatos and Silks acrylic paint. I also added spots of more color using the same products in random spots.

I took some pieces of chipboard and, after covering with Gesso, ran it through an embossing folder. I then colored it with Gelatos and Silks Acrylic in Honey Amber. There's more shine to them than the photo shows.


I added some Lake Mist paint dabber is spots and then added my quote after printing it on a piece of pp, cutting it out and inking it.
I used a Grey Pastel pencil to scribble around and then smudged it all with my finger for more highlights.

The flowers are made using a TH die and cut from lares and layers of tissue paper. They were then misted with Tattered Angels mist and inked to match the background.

Just another closeup of the texture. As a final touch I went back with a script stamp and StazOn ink and randomly stamped in spots.

Make sure you check out the Swirlydoos Gallery to see all the other week 4 entries.

Thanks for stopping by and have a great day!

Wednesday, January 30, 2013

Swirlydoos Ultimate Designer Challenge WEEK 3


So it is time for week 3 of the Swirlydoos Ultimate Designer Challenge.
This week the challenge is to use METAL FOIL TAPE and incorporate it into your project somehow. Now I never do anything little and went in whole hog on this. I altered an 11x 14" canvas to create my piece.

Here is how I started...
First laying down a bunch of random objects.

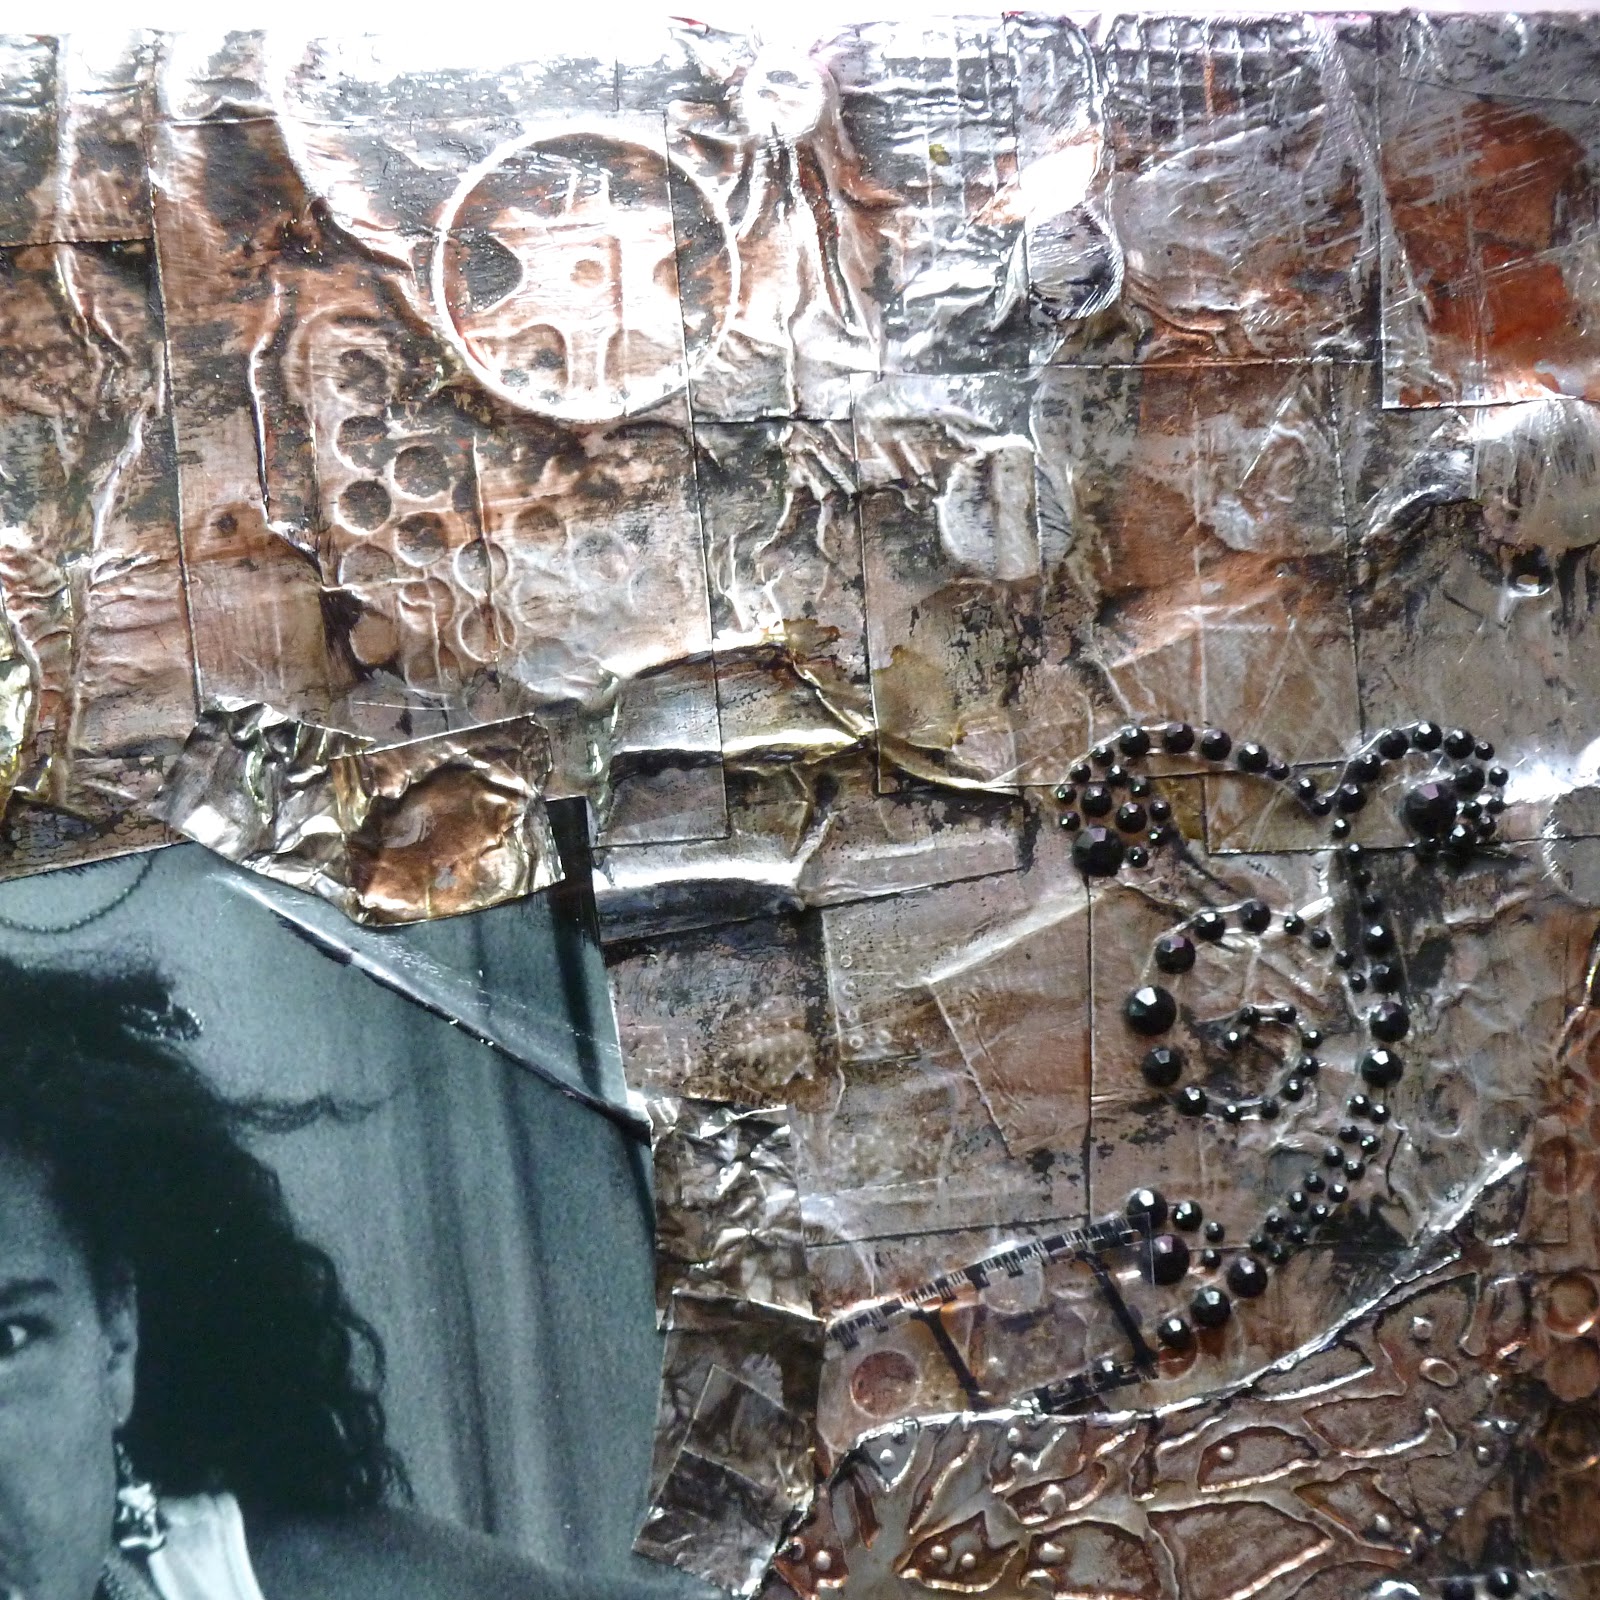
Then I covered the entire canvas with pieces of metal foil tape I finally found at Home Depot (after hitting up 4 other stores). I used a paper stump and burnished, burnished, burnished.

Then wiping the whole thing with black acrylic paint, wait and wipe off. Repeated this 3 more times until I was happy with it. The paint is in the grooves and crevases and takes away the shinyness (I know, not a word) of the tape.


Almost done...Now I started adding alcohol inks; Pesto, Terra Cotta and Copper. I just used my finger to blend them in where I wanted them to go.

Time for my photo and embellishing. The wings and heart are grungebord that I covered with tape and ran through and embossing folder. I then repeated the same paint & ai application. The word strong I rubbed Black StazOn over to make stand out.
In the upper left corner are some beads and a dangly heart (hard to see in this pic I know, but bad weather is rolling in and I had to take it now).
The photo is a self portrait by my dd. I just love how awesome she looks in it. Ready to take on anything and anyone.


Some closeups to show you.


  So that's that. Week 3 of the Swirlydoos Ultimate Designer Challenge. Make sure to head over to the forum and see what everyone else is doing this week. I promise, you'll never look at metal foil tape the same again.

Thanks for stopping by and have a great day!

Thursday, January 24, 2013

Ultimate Designer Challenge Week 2


The name of the game this week is layering; lots and lots of layering.
For my entry I used the January Swirlydoos kit and have over 10 layers on my page.
I have this picture of my middle daughter eating Gelato in Italy (something we did a lot of while there lol) and layering while still keeping the focus on her was a challenge.


There is FabScraps organic line of paper with lots and lots of distressing. I threw in some Prima Firefly papers. The colors of the 2 lines go together beautifully.
The Road Warrior title is appropriate, she is lucky enough to have traveled extensively in her 12 years.

Not only are there paper layers but also some different trims (I love this lace, it looks just like banners) and some tulle under the picture. The purple flowers are from some Petaloo vines I cut apart and of course some Prima bling.


There is also some stamping over the background paper. I used both Kaisercraft and Prima stamps with Tsukineko Eggplant chalk ink.
I just love how all these layers came together into the final page.

 In the upper left along with some paper and more lace are a few rubons from Kaisercraft as a final touch.

  Head on over to Swirlydoos and check out all the other wonderful layered entries for this week's challenge.

 Thanks for stopping by and have a great day!

Friday, January 18, 2013

Swirlydoos Kit Club : Ultimate Designer Challenge


Swirlydoos Kit Club is having an Ultimate Designer Challenge happening over the next 6 weeks.
Each week a new challenge is posted for those of us playing along.
For week one it was to take a piece of chipboard or die cut and alter it to create a layered embellishment for a page, card etc.

After several starts and stops this is what I finally came up with.


I took a large Eiffel Tower chipboard piece (and when I say large--it's 12" tall) and covered it with a piece of actual French sheet music. Wiped some Gesso over it to tone it down and stamped flourishes over it. They a heavy misting with Buccaneer Bronze from Lindy's Stamp Gang. Once dry I embossed with a script stamp and copper embossing powder across the whole tower.

For the Fleur de Lis I fisrt paint it with copper paint and while wet sprinkled with UTEE. When I heated it it formed some cool texture. Once cool I stamped with a script stamp all over.


I finished the layers with a piece of crumpled and distressed paper under and flourishes on top.

This is how it looks on the page before I added anything else.
The patterned paper is from Riddersholme Design which I wiped with Gesso before misting with the Buccaneer Bronze and Tiffany's Blue mists from LSG.
The stencil is from Crafter's Workshop and I used Colorbox Mixed Media ink.

  Here is just another closeup of my altered chipboard. It was hard getting good pictures. No matter what light I used there is so much glimmer it kept messing me up.


And finally the finished page. Last April my husband took me to Paris for my 40th birthday. This pic was taken there. I printed it on canvas paper in sepia tones to match my page.


  The thread over at Swirlydoos has many more entries of altered chipboard. Head on over and chack them out.


Thanks for stopping by and have a great day!