Showing posts with label altered. Show all posts

Monday, November 17, 2014

Craft Hoarders Anonymous Challenge 20…BOX IT UP!

Welcome back!

It's half way through November (and 5 1/2 weeks until Christmas EEEKKKK)
and time for another challenge at 

Challenge 20:
BOX IT UP
Create some sort of altered box.
You can create a box from scratch or alter a pre-made one.
Your box can be made of paper, wood, chipboard, plastic or metal.
As long as you dig into your hoard to decorate your box you meet the requirements.
The box may be a decoration, a gift, a gift holder…whatever you decide, just
BOX IT UP!


This challenge the Design Team was given wonderful boxes by
          Eileen is a Designer member of the Craft and Hobby Association and currently serves as Vice-Chair of the Designer Council. Eileen is from the Washington, D.C. area where she and her husband live in their empty nest. The newest member her family is a vintage camper, which she is driving cross-country, teaching and crafting all the way.
      Eileen has designed a signature line of ScoreBoards™ Sizzix dies, which includes the every popular Artist Trading Blocks dies.
     Her tenth Sizzix collection was released in February. 2014!
This is the box I created using one of Eileen's boxes.

All sides are covered with art, hearts and little inspirational phrases.
I even dug into my hoarded stash of Gelli Print scraps to finish it off.
I can rotate it on a whim, always changing what I am sharing.

Feel free to scroll as I have tried to share photos from almost all sides…

Supplies:
Eileen Hull 3x3x3 box
Liquitex acrylic paint
Washii tape
Book text
Gelli Prints
BoBunny stamp
Solvent ink
Distress marker
Word stickers


This month we are also sponsored by

One lucky winner will receive this
If you haven't checked out Heather's store, make sure to do so.
Her collage sheets are awesome!

Last but most definitely not least, make sure to visit the rest of the
Craft Hoarders Anonymous Design Team
to see what they have done with the challenge.
                                                                      Glenda Brooks
                                                                     Gloria Stengel 
                                                    Jan Marie Ennenga (on vacation)
                                                                    Karen Zueger
                                                          Kathy Clement (on vacation)


After you have visited everyone head back to the Craft Hoarders Anonymous blog
and link up your box creation.
You have 2 weeks.

Thanks for stopping by and have a great day!


Wednesday, July 2, 2014

Working my way through my deck of cards….

Ever since taking Stephanie Ackerman's 
class
I have slowly been working my way through my deck of cards.
Halfway done now,
and each one I make is making me so happy.

These little cards go together so quick, 
and are perfect to tuck in cards or a friend's pocket as they walk out the door.
Here are the most recent 4 I have made...

Closeups.


Acrylic Paint, Tissue paper, book text,
stamping and more.

My words come from scrapbook stickers,
book text and even the 
selvage on scrapbooking paper
(the one below comes from a piece of Authentique paper)


Then translating what I have been doing on the playing cards onto
larger pieces such as Birthday cards for 2 special friends.

Almost the same techniques as above
but on card stock bases.
Ready to pop in the mail and hopefully brighten their day.

The hearts on the 2 cards from from an old Gelli Print
on deli paper.


So that's it.
It's a heart filled post today.
Thanks for stopping by and have a great day!


Saturday, January 11, 2014

The Documented Life


I was browsing Pinterest the other day when I
stumbled across a link for a 52 week Art Journaling
challenge called
The Documented Life.

In it you are challenged to recycle an old planner (or make a new one), 
and every Sunday a new prompt/challenge is issued.

Challenges are here
https://arttothe5th.squarespace.com
and here
https://www.facebook.com/groups/thedocumentedlifeproject/

I am jumping in a little bit late but will catch up as I can.
I am recycling a 2013 planner with really thin pages which will provide a challenge as I go as the pages are much thinner than I usually work with.
The cover is a work in progress so I will share that at a later date.

For now I have the first challenge done.
Through the artistic medium of your choice, show us a bit of where you live in the symbol of your door, entryway or porch. Think a bit about how you can use your door to express your personality, your life, what you value.

and here is what I came up with...


The page was covered with painted paper towels and some stamping.
For my front door I cut it out a bit, sanded the edges the after adhering it
to my page added some Modeling Paste to incorporate it into the textured background.

Silks acrylic paint was used to color the paste once it was dry.
Stamping was added for more design.
The number stickers were sanded for a bit of distressing.

My journaling is
"How many adventures await through this door?"


I can't wait to see what the rest of the year brings in challenges.

Thanks for stopping by and have a great day.

Saturday, March 16, 2013

More Gelli Prints sharing


Sharing a few Gelli Print projects today.

The first is a tag. I made the background last week while at Donna Downey's Studio during a class taught by Melissa.
Ever since I've been home I have been staring at it wanting to finish it off.
A little bit of stamping, outlined with a white Gel pen and the quote and it was done.


The next bit is just a print I made yesterday.
I love how easy it is to layer color and pattern using my Gel plate. I've been playing pretty much every day since I brought it home. This one started out as layers of leftover bits and pieces as I worked on an Art Journal page. The black diamonds tied it all together.
Even if you don't like the original print you can keep adding until you are happy.

  Making these prints has become my newest addiction.  I am hoping to get even more done today before the girls soccer games start. I'm pulling out all the old paints I have (fyi even though this works fantastic with all the old paints you've collected when you open up a jar and it falls out in chunks....it might be time to trash that bottle ) and rediscovering my stash.

  Thanks for stopping by and have a great day!

Thursday, February 21, 2013

Swirlydoos Ultimate Designer Challenge WEEK 6

It's time for the 6th and final challenge of the Swirlydoos Kit Club Ultimate Designer Challenge.

The last 6 weeks have been an amazingly creative challenge and I thank the Ladies at the forum for hosting it.

This being week 6 the challenge was upped. You needed to A: use the following sketch AND B: incorporate the following techniques/ themes
Create your own background, layer mediums, mist etc.
Paper layering & distressing
Multiple photos, best clustering
AND
technique of your choosing 
(I altered chipboard)

This is the sketch we used, created by Beggahuna.
And this is how I went about creating my layout.

First I completely covered a 12x12 piece of watercolor paper with scraps from past Swirly kits and book text. The watercolor paper will prevent warping from occurring as I layer on mediums.


I then took an old credit card and swiped a layer of Gesso over the whole thing. Not to hide the patterns but tone it down and give it a uniform feel.

While the Gesso was still wet I misted it heavily with South Shore Sand mist from Lindy's Stamp Gang. I then dried the paint & mist with my heat gun.
I then pulled out my new favorite blue mist Tiffany's Blue also from LSG and misted randomly over the background.


Using a Pink Paislee stamp and a Prima stamp along with StazOn ink I stamped randomly over the bg. I used Stone Grey ink as I wanted it to sink into the background a bit instead of popping off.

I misted some cheesecloth with Crushed Shells glimmer mist from Tattered Angels and used Gel Medium to adhere it to my bg. I also traced a circle so I would have a reference point as I continued to build my lo.

More stamping, this time with a script stamp from Kaisercraft.  I also began tearing and layering paper from 7 Dots Studio as well as some Washii tape.

A few border stickers from 7 Dots Studio were also applied over the tirn paper layers and in the upper left corner. Chalk ink was rubbed through a Crafter's Workshop stencil in spots for more layer.

I took my sewing machine and sewed on a circle of lace over my drawn circle. I then took Modeling Paste and put it through a snowflake stencil also from Crafter's Workshop in places.

I altered chipboard from Dusty Attic (snowflakes I had been hoarding) by first painting with Lake Mist paint dabber, then stamping on once dry with a script stamp and StazOn. I then covered with watermark ink and Holographic embossing powder to give it sparkle but still show the underlying pattern.
Once all the chipboard had been altered I layered it with my photos and some flourishes I cut into pieces. 
I also used my palette knife to apply Clear Granular Gel in spots. Once that dried I covered it with white Gelato to mimic snow.
The final bit was my tittle. Cork letters by Little Yellow Bicycle which I also rubbed white Gelato on again for the snow look.

Finally I was finished. I matted it on a piece of dark brown card stock to give an almost framed look and distressed the edges rubbing on some final brown ink.


A few closeups:
here of some layering and paper tearing


here of the Modeling paste and chipboard

My cheesecloth, cork letters and Granular Gel


and just a shot that makes me happy. The grinning face of the little one


  6 weeks of challenges have come and gone. This has been a wonderful inspiringly creative time. I'm so glad I clicked on the "join now" button.


Thanks for stopping by and have a great day!

Friday, February 8, 2013

Swirlydoos Ultimate Designer Challenge WEEK 4


It's time for week 4 of the Swirlydoos Kit Club Ultimate Designer Challenge.
For week 4 the challenge was this
Create a TEXTURED CANVAS project, wherein you create your own background using the following techniques and mediums:
  • Layering of your mediums
  • Misting
  • Use a mask or template
  • Various texture mediums (Glass beads, modeling paste, gesso, molding paste, etc) Think TEXTURE & LAYERING of your mediums.
  • Paint (doesn't matter what kind)

Needless to say I was excited. I love working on canvases but never seem to have the time. I got to play all week because of this challenge. YAY!!!

This is my finished canvas. I wound up doing a 12x12 size just because it's not a typical one that I work on.

Below is photo of most of the supplies I used. Not show is the chicken wire stencil from The Crafter's Workshop, Paint Dabber in Lake Mist, Gesso,  some stamps, and the various dies & embossing folders I used.

All the paper is from 7 Gypsies and really worked with the look I was going for.

After covering my canvas with 2 coats of Gesso I placed some torn book text and scraps of 7 Gypsies paper down, then covered with another light layer of Gesso. I misted it heavily with mists from both Lindy's Stamp Gang and Tattered Angels. Using a foam brush I added Golden Glaze in Seafoam Green over spots and when it was dry I then stamped in spots with a Prima stamp and StazOn.


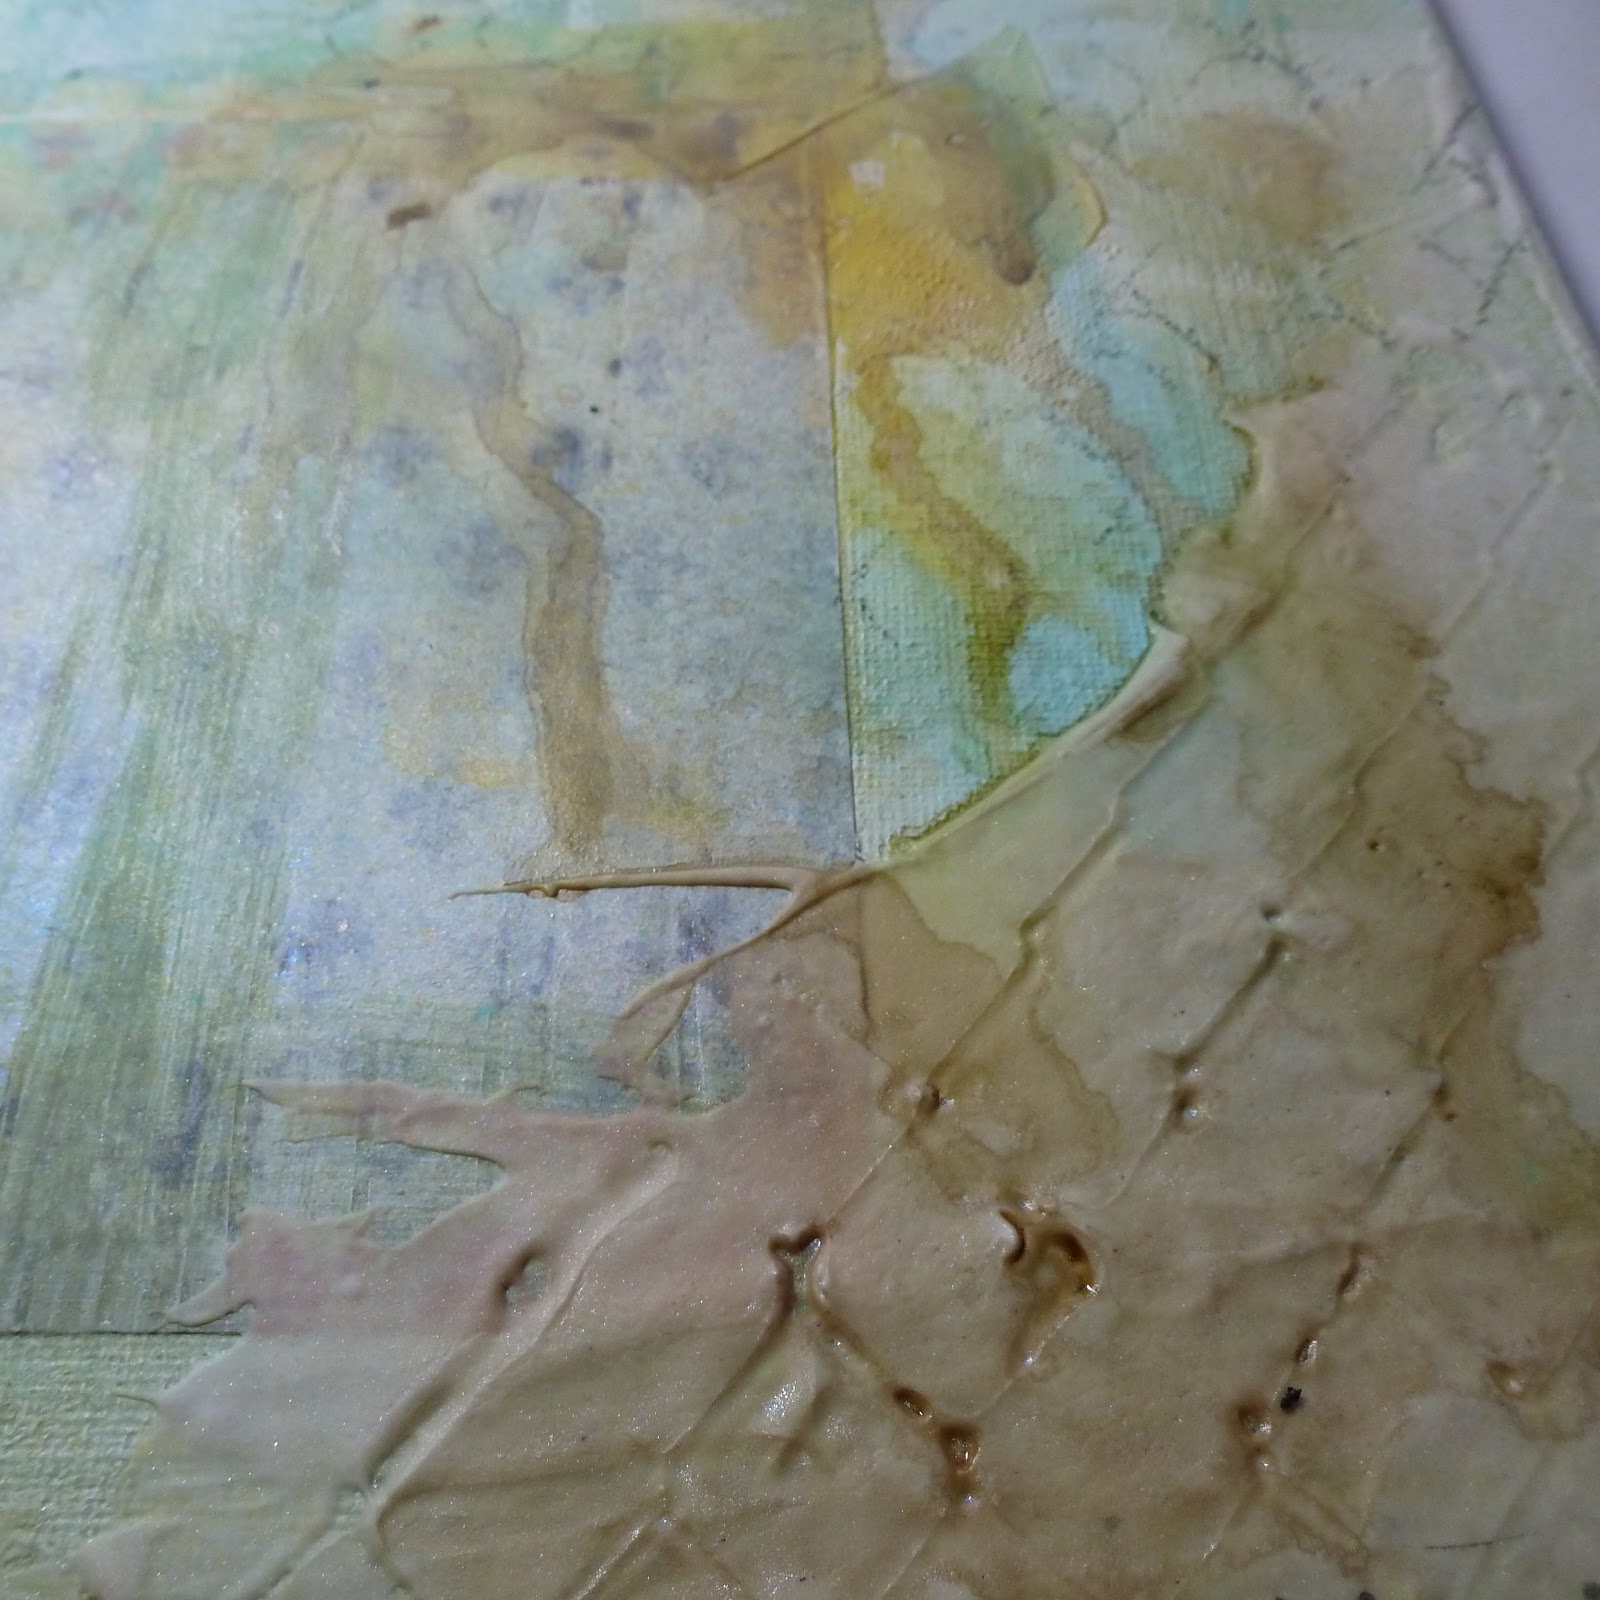
I then took my Modeling Paste and applied it heavily in the upper left and lower right corners of my canvas and pressed in a piece of Dusty Attic chipboard to give it the texture I wanted. When it was dry I misted it again.

I then layered some tags and scraps of patterned paper that I had misted and inked. Then using my chicken wire stencil and Dry Sand ink from Prima added more pattern to my background.

I added some Washi tape in spots and then added my image (also from a piece of 7 Gypsies paper). I then used my palette knife to randomly apply Granular gel in spots. It's white when you first put it down but as it dries it becomes mostly clear with a lot of shimmer and texture. Once it was completely dry I went over it with some Gelatos and Silks acrylic paint. I also added spots of more color using the same products in random spots.

I took some pieces of chipboard and, after covering with Gesso, ran it through an embossing folder. I then colored it with Gelatos and Silks Acrylic in Honey Amber. There's more shine to them than the photo shows.


I added some Lake Mist paint dabber is spots and then added my quote after printing it on a piece of pp, cutting it out and inking it.
I used a Grey Pastel pencil to scribble around and then smudged it all with my finger for more highlights.

The flowers are made using a TH die and cut from lares and layers of tissue paper. They were then misted with Tattered Angels mist and inked to match the background.

Just another closeup of the texture. As a final touch I went back with a script stamp and StazOn ink and randomly stamped in spots.

Make sure you check out the Swirlydoos Gallery to see all the other week 4 entries.

Thanks for stopping by and have a great day!

Wednesday, January 30, 2013

Swirlydoos Ultimate Designer Challenge WEEK 3


So it is time for week 3 of the Swirlydoos Ultimate Designer Challenge.
This week the challenge is to use METAL FOIL TAPE and incorporate it into your project somehow. Now I never do anything little and went in whole hog on this. I altered an 11x 14" canvas to create my piece.

Here is how I started...
First laying down a bunch of random objects.

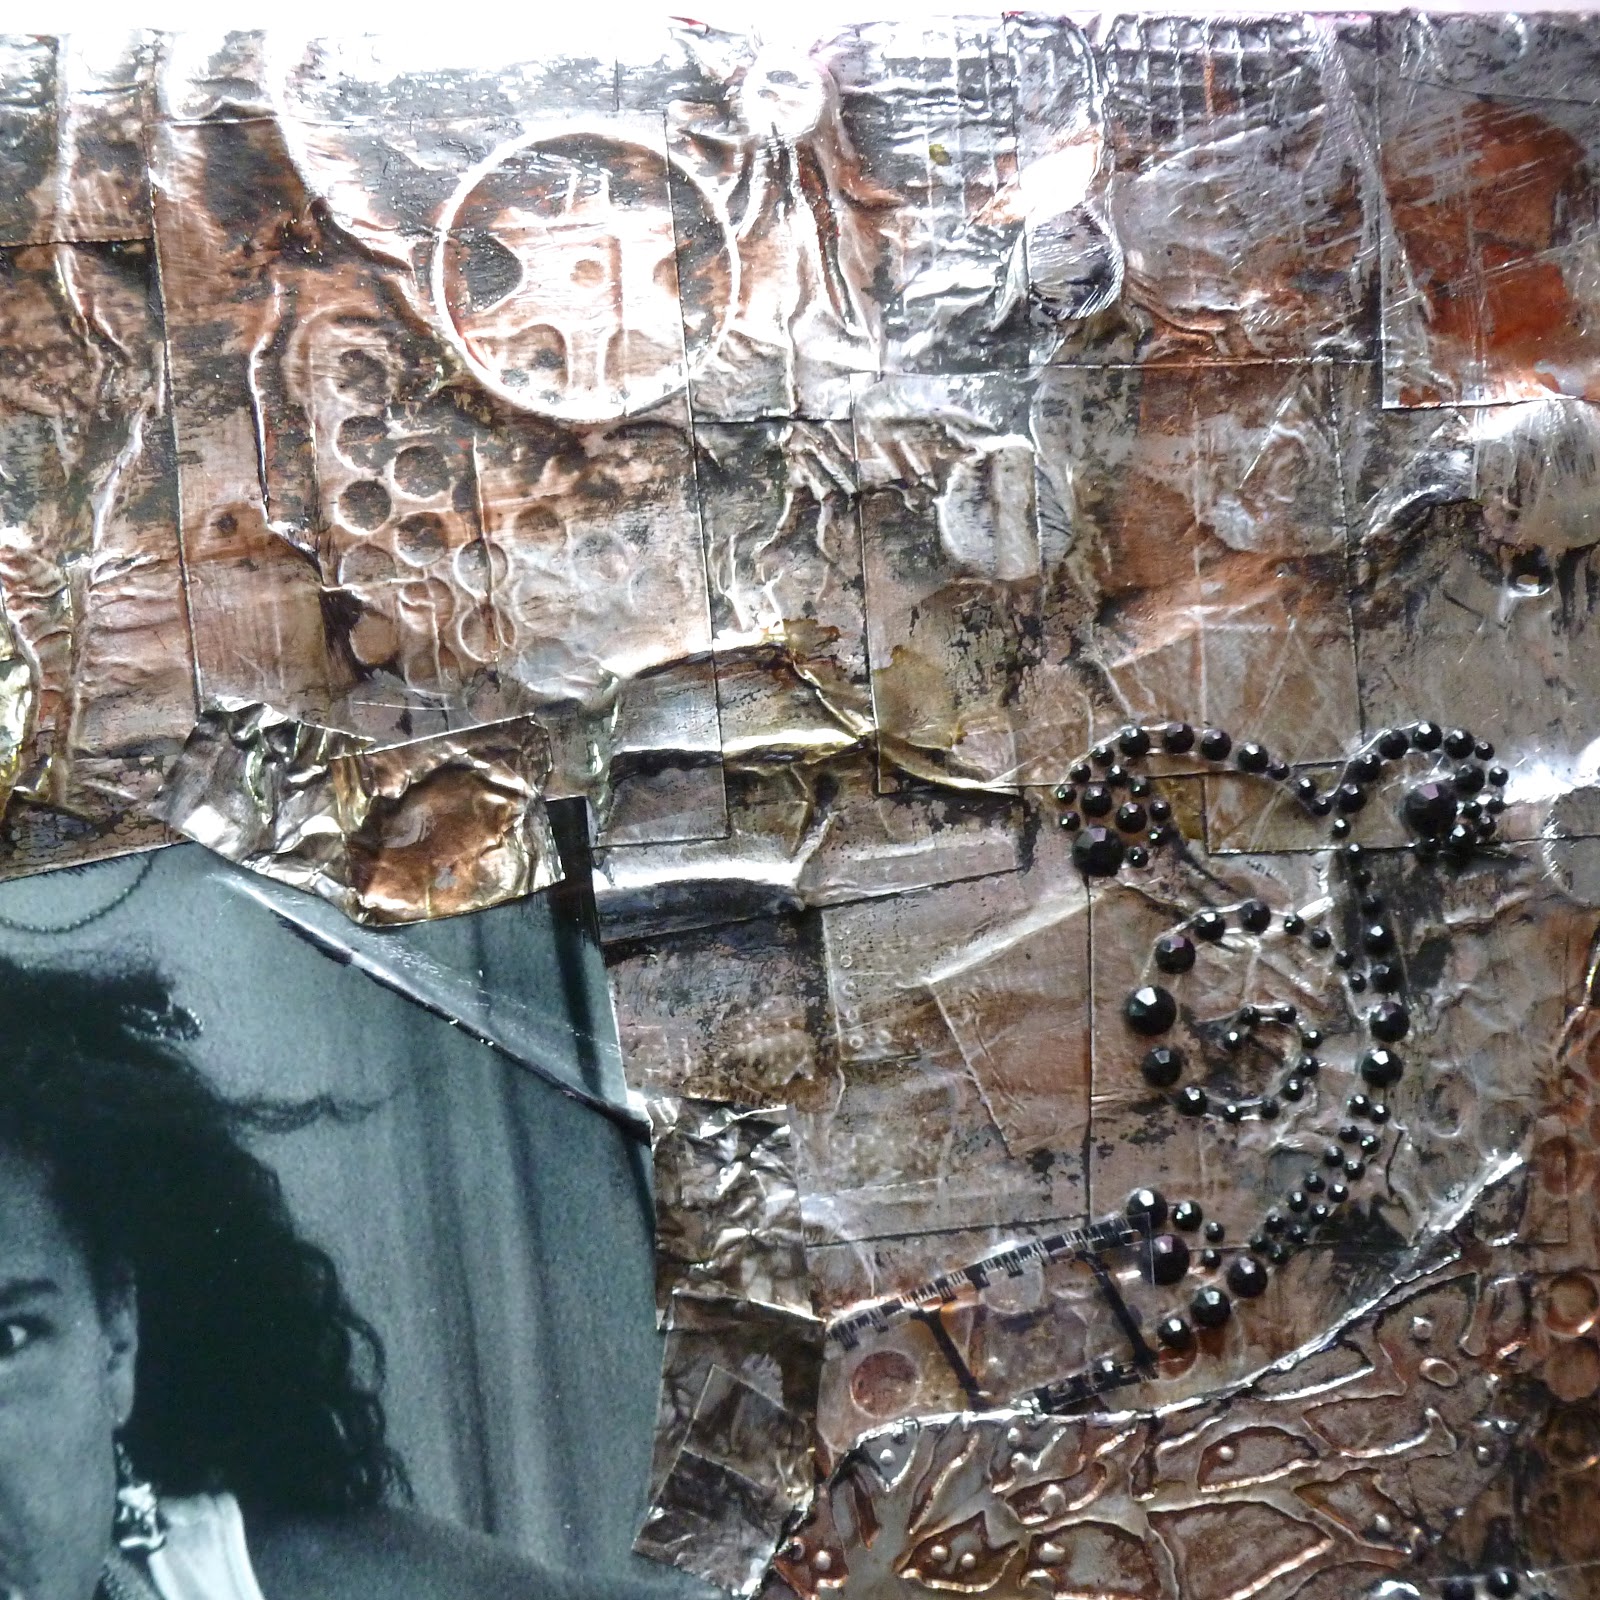
Then I covered the entire canvas with pieces of metal foil tape I finally found at Home Depot (after hitting up 4 other stores). I used a paper stump and burnished, burnished, burnished.

Then wiping the whole thing with black acrylic paint, wait and wipe off. Repeated this 3 more times until I was happy with it. The paint is in the grooves and crevases and takes away the shinyness (I know, not a word) of the tape.


Almost done...Now I started adding alcohol inks; Pesto, Terra Cotta and Copper. I just used my finger to blend them in where I wanted them to go.

Time for my photo and embellishing. The wings and heart are grungebord that I covered with tape and ran through and embossing folder. I then repeated the same paint & ai application. The word strong I rubbed Black StazOn over to make stand out.
In the upper left corner are some beads and a dangly heart (hard to see in this pic I know, but bad weather is rolling in and I had to take it now).
The photo is a self portrait by my dd. I just love how awesome she looks in it. Ready to take on anything and anyone.


Some closeups to show you.


  So that's that. Week 3 of the Swirlydoos Ultimate Designer Challenge. Make sure to head over to the forum and see what everyone else is doing this week. I promise, you'll never look at metal foil tape the same again.

Thanks for stopping by and have a great day!