Hey everyone!
It's Christy here
and on this first Tuesday of a New Year I have another mixed media tutorial for you.
Today I am inspired by the nasty cold and snow that has gripped most of the United States.
Record breaking cold and snowfall is keeping many of us inside…
perfect time to play with some crafting supplies.
I want to show you a fun and easy way to incorporate Modeling Paste into your projects.
I am making a tag but this technique can be used on whatever you desire, from tags to cards, canvases to scrapbook pages, it has no boundaries.

Supplies
Tag
Modeling Paste
Palette knife
Glimmer mist
Ink in a complimentary color
Grey Solvent ink
Script stamp
Snowflake stencil
Heat Gun
Gesso (If desired)
Tag
Modeling Paste
Palette knife
Glimmer mist
Ink in a complimentary color
Grey Solvent ink
Script stamp
Snowflake stencil
Heat Gun
Gesso (If desired)
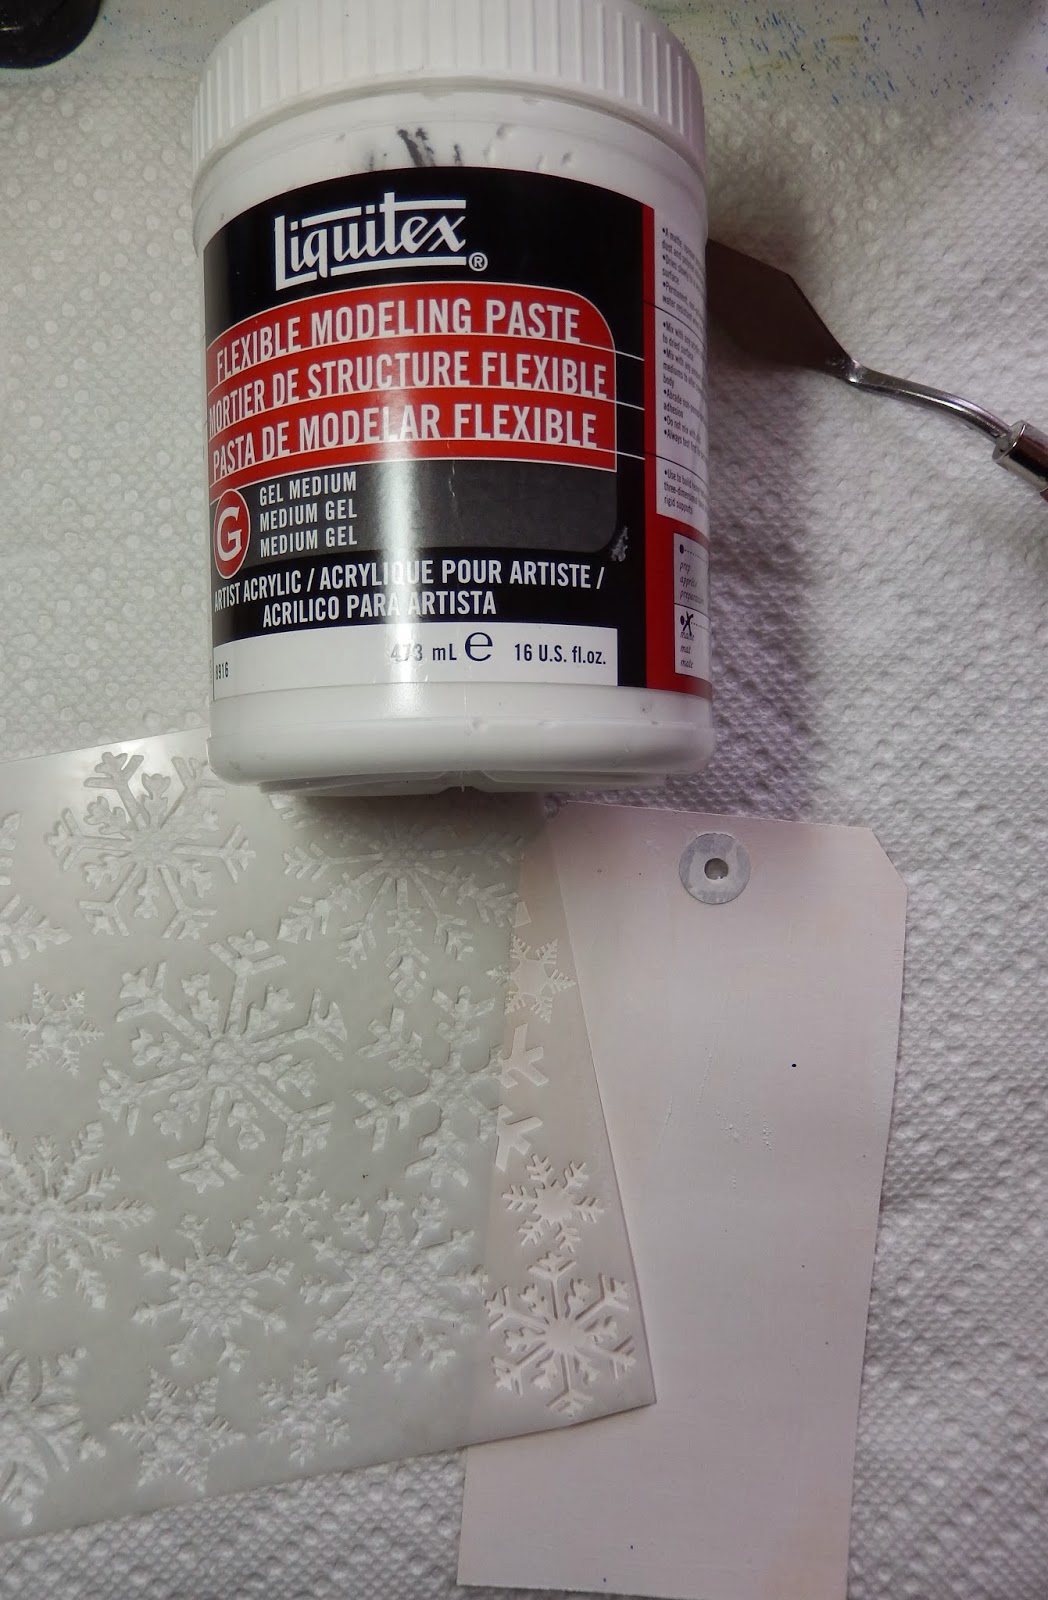


Start with the modeling paste, stencil, tag and palette knife.
Note: I covered the front and back of the tag with a layer of gesso ahead of time. Doing so will keep the tag from curling as you add the paste and mist.
Place the stencil on the tag and spread a thin even layer of paste with the knife over and through the stencil.
Lift the stencil and set the tag to dry. (DO NOT use a heat gun. It will bubble and crack the paste.) Immediately clean your stencil and the palette knife.


Once the modeling paste is dry, heavily mist the tag. The mist will settle in and around the raised images created with the paste and give different levels of color. Let it dry completely. Now that the paste is dry, you can use a heat gun.


Ink a script stamp with solvent ink (solvent ink is perfect for modeling paste and mist as it dries immediately with no smudging or smearing). Randomly stamp across the tag. With the raised images, you'll only get bits and pieces of the stamped image which is fine as it will add some pattern and more texture. Repeat across the tag.


Take a complementary ink color and lightly rub it across the tag in random spots and along the edges.
You can now finish your project however you wish...

Here:
I finished my tag with letters covered ink silver acrylic paint and glitter.
Paper snowflakes in a complementary color were also added as embellishments.
Thanks for joining me.
I hope that I have inspired you to pull out some supplies and play today…
Keep warm everyone!
1 comment:
Hi Christy, thanks for visiting my blog and for your kind comment on my layout. After such a long break from scrapping it's a real confidence booster :)
And thank you so much for posting this tutorial. Is modeling paste the same as texture paste? I hope so, because that's what I've got in my stash and I'm going to give it a try!
Have a wonderful day.
Post a Comment