Friday, March 30, 2012

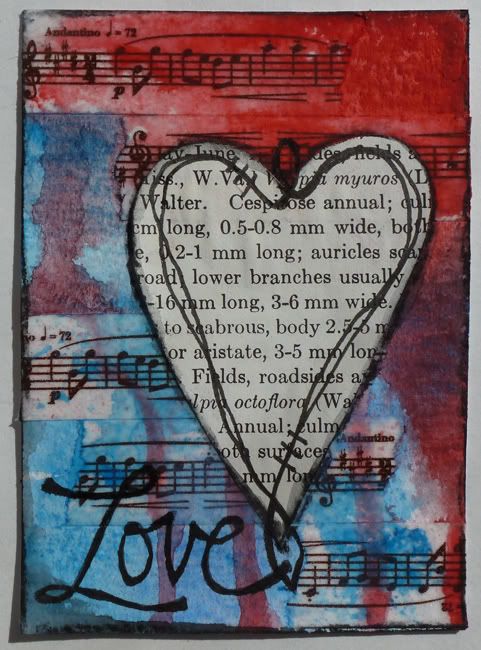
ATC Love

I love making ATCs. They go together quick, use minimal supplies and let you try out new techniques. I make them for myself, for my friends and am always willing to trade with artists around the world.

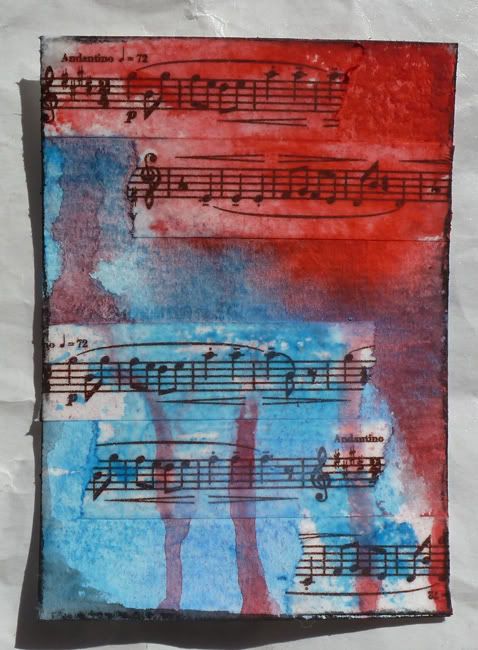
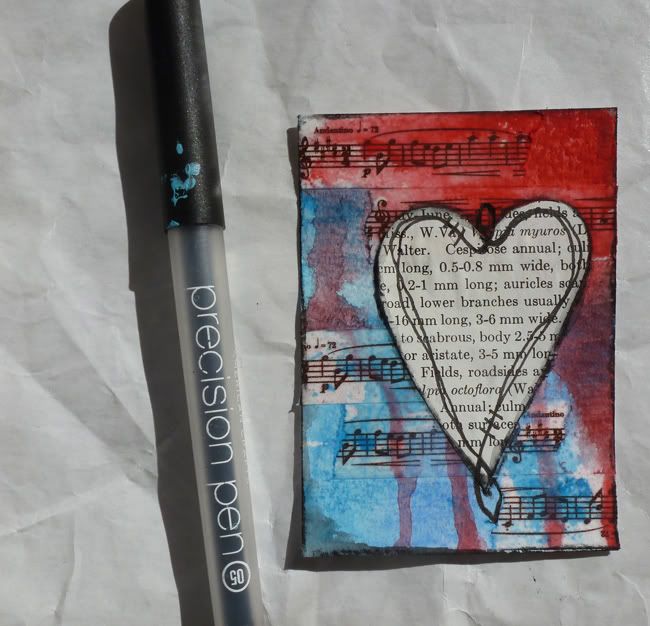
I'd like to show you how to make this fun little ATC that was featured in the January issue of Scrapbook News and Review
Photobucket

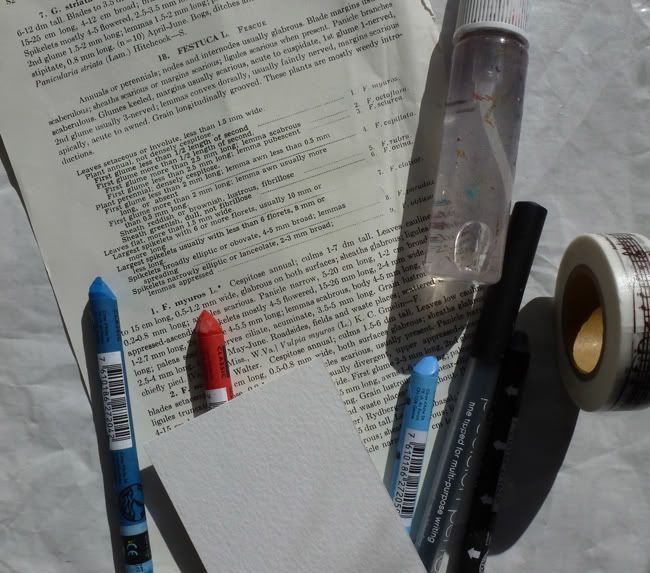
Supplies

Photobucket

Watercolor Paper

Watercolor Crayons

Tape

Book Text

Black Marker

Water in a Spray Bottle

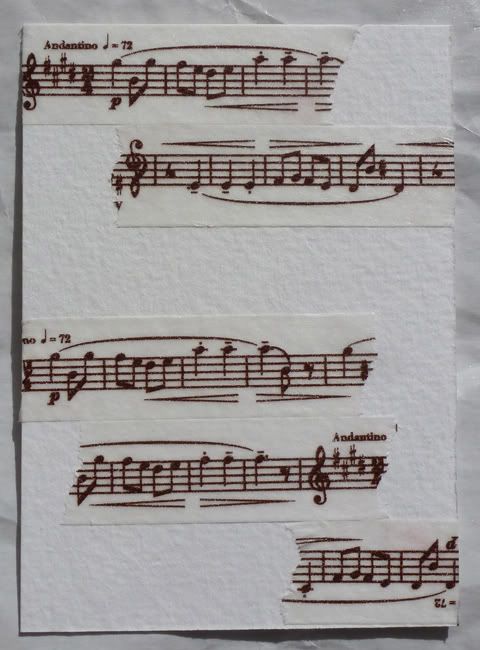
Step One: Cut a piece of watercolor paper to 2.50 x 3.50 inches.

Place tape randomly over the paper.

Photobucket


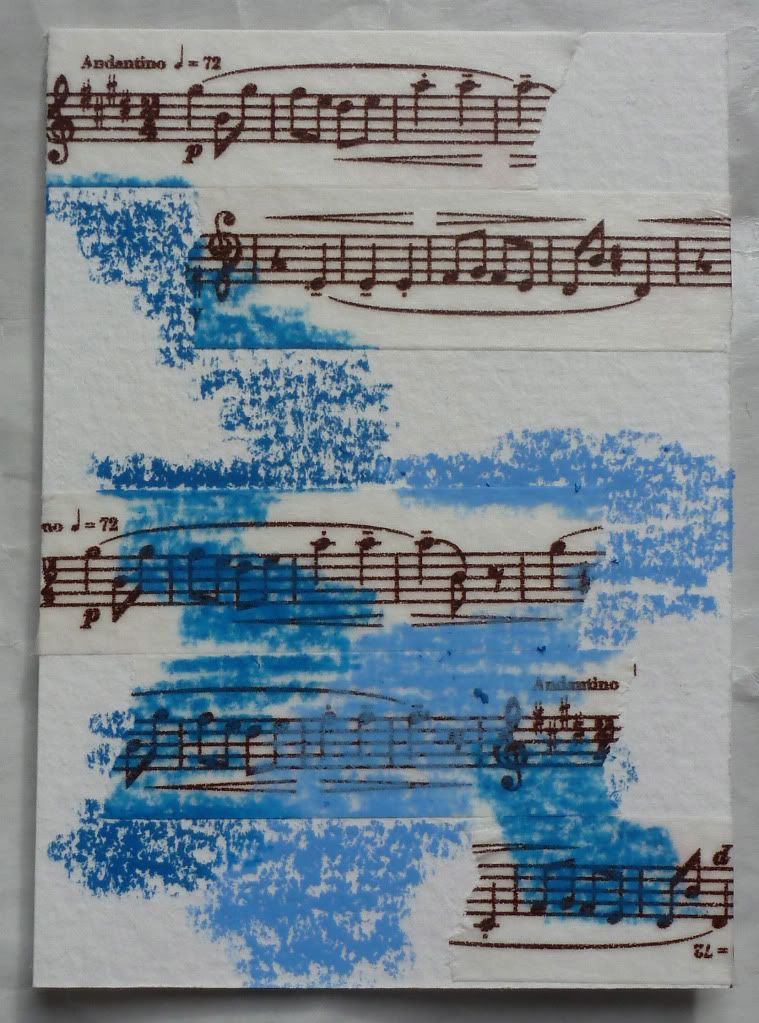
Step Two: Along the middle and lower portion of the card color with 2 different blue watercolor crayons.

Photobucket


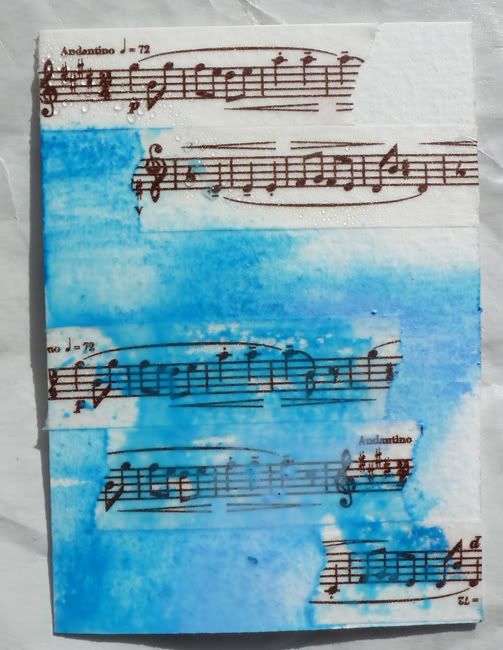
Step Three: Spritz the card with water to move the color around. Hold the card vertically to let some drip down and off the card. Use a wet paintbrush to spread the color more. Dry.

Photobucket

Step Four: Taking a red watercolor crayon color heavily along the top half of the card.

Photobucket

Step Five: Spritz again with water to spread the color. Hold vertically to cause more dripping. Dry.

Photobucket

Step Six: Taking a black watercolor crayon draw a thin line all around the edge of the card. Use a barely wet paintbrush to pull the color in slightly towards the center of the card. Dry

Photobucket

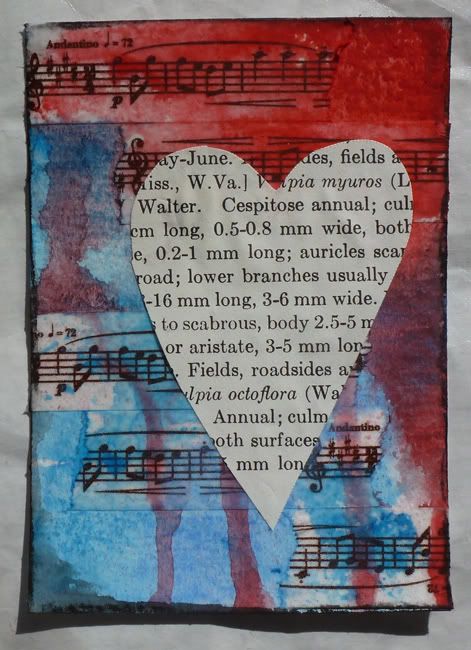
Step Seven: Cut a heart from a piece of book text and adhere to the card.

Photobucket

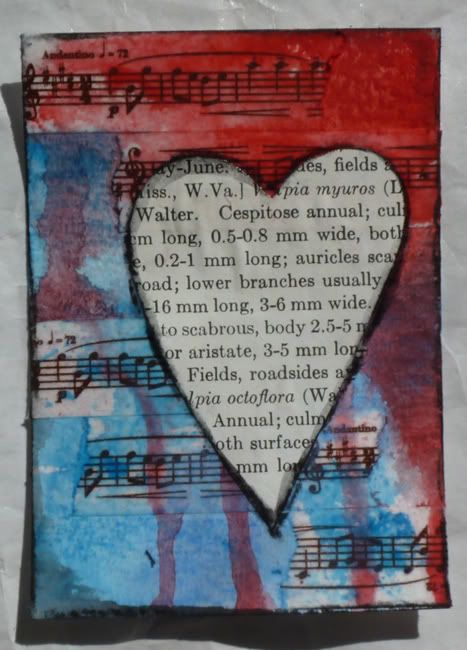
Step Eight: Outline the heart with a black watercolor crayon. Soften the line with a wet paintbrush.

Photobucket

Step Nine: Taking a black pen draw a free hand heart along the inside of the book text heart. Feel free to double up or add more doodles.

Write the word Love in lower left corner.

Photobucket


Love by Christy Butters Supplies Watercolor Paper: Fabriano; Watercolor Crayons: Caran D’Arche; Pen: American Crafts; Other: Tape, book text

Photobucket

ATCs are such fun little pieces of art. I hope this quick tutorial inspires you to try and create one for yourself.


Thanks for stopping by and have a great day.
Saturday, March 24, 2012

The Bird....

that ate Shai's camera.

Layout done for the March challenge at PAO. The layout needed to have green, metal and NO PEOPLE. I scrapped the Emu that tried to eat my oldest daughter's camera while at the zoo in Krefeld, Germany.
The patterned paper is all by Basic Grey. The metal is from 7 Gypsies.

Thanks for stopping by and have a great day.
Friday, March 23, 2012

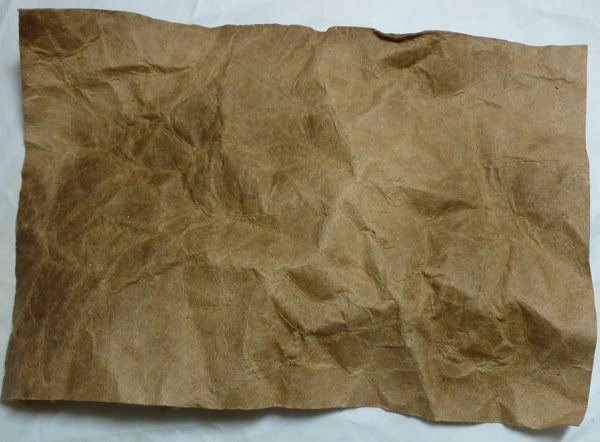
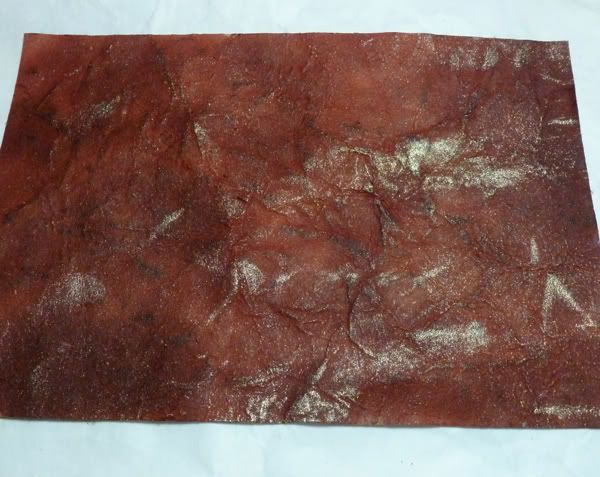
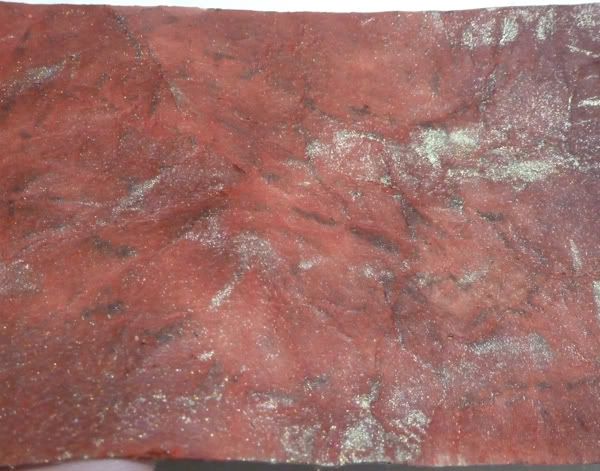
Faux Leather with Distress Stains

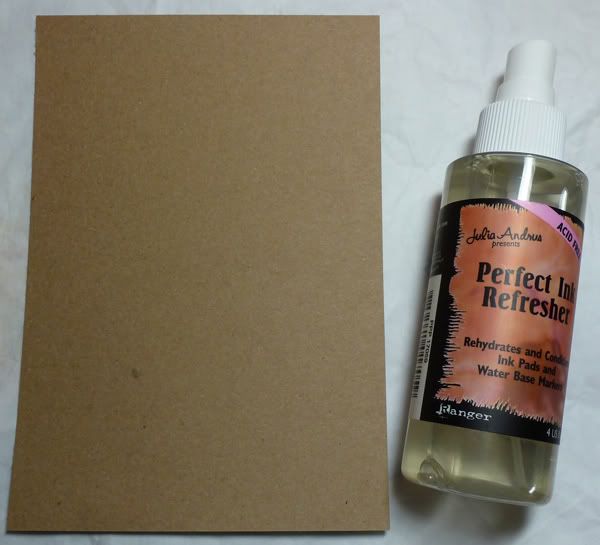
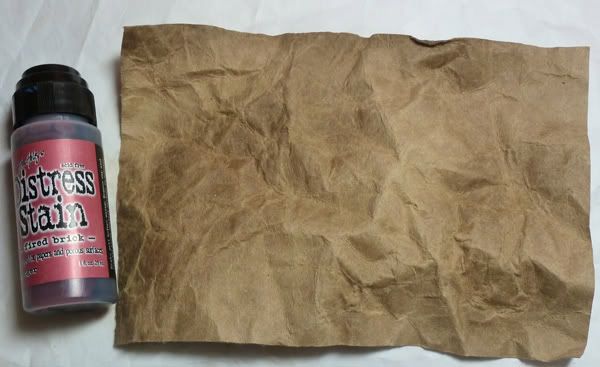
Supplies: Perfect Ink Refresher, Distress Stain, Distress Ink, Perfect Pearls, Kraft Cardstock.

1.Take a piece of Kraft cardstock and Perfect Ink Refresher from Ranger.

Photobucket

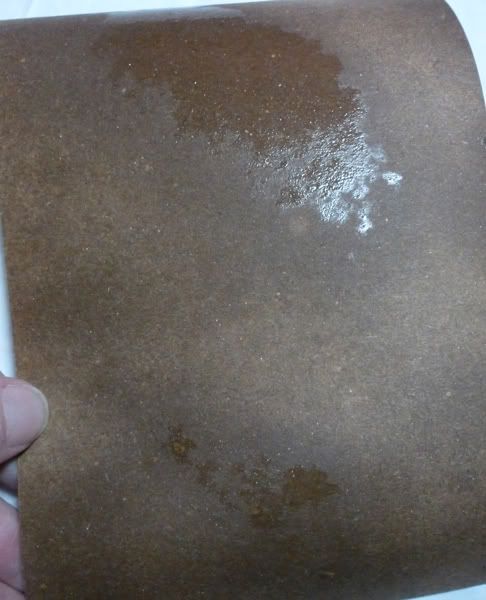
2. Spray the cardstock with the Ink Refresher. Rub it into the card stock.

Photobucket

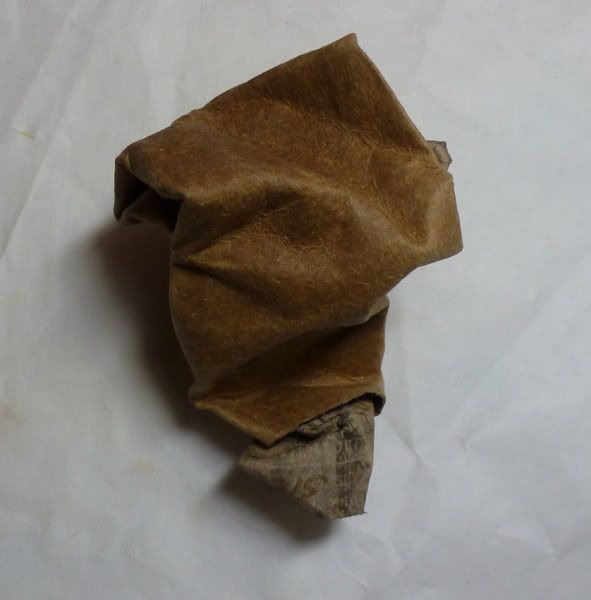
3. Crumple the cardstock up. Do this until you are happy with the creases.
Photobucket


4. Flatten the cardstock on your work surface.

Photobucket

5. Choose a Distress Stain...here I use Fired Brick
Photobucket

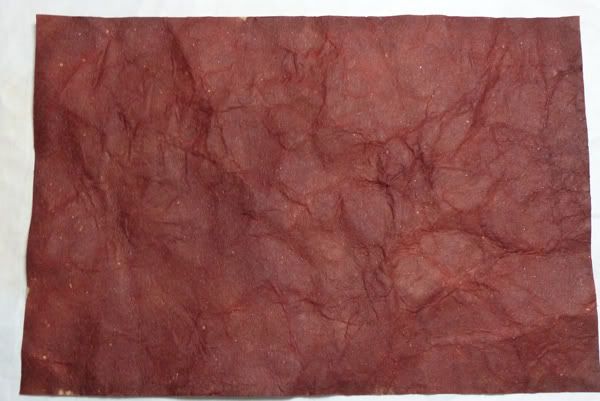
6. Take your Distress Stain and completely cover the card stock.

Photobucket

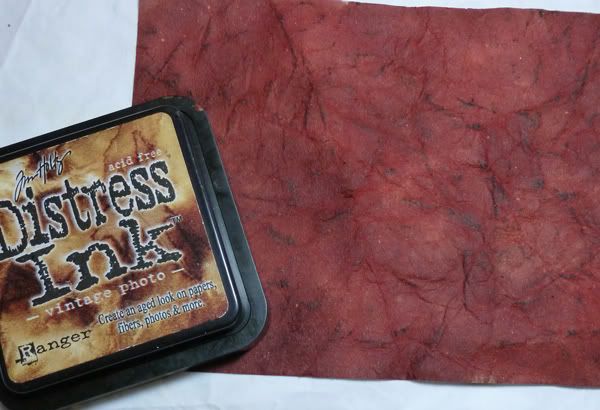
7. Dry slightly . Take your Distress Ink and add color to the ridges. I just lightly rubbed the pad directly to the paper.
Photobucket

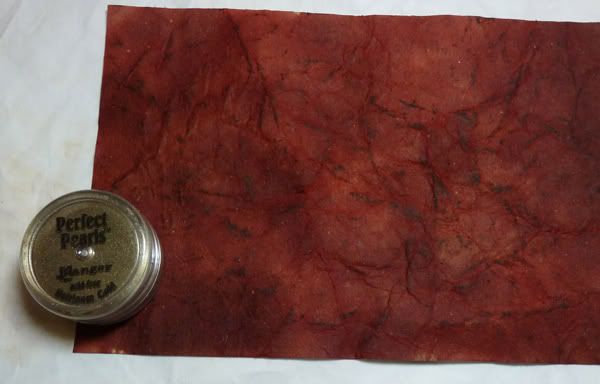
8.Take Perfect Pearls (here I used Heirloom Gold) and using your finger rub into the paper.
Photobucket
Photobucket
Photobucket

Wednesday, March 21, 2012

A touch of Green & Swirlydoos

I love participating in the Round Robin challenges over at Swirlydoos. Watching how a sketch progresses every week is neat to see. Sort of the Scrapping version of Telephone.

I had week 3 this month. The spin on the challenge was to use the color green and scrap a baby pic. I used Pink Paislee & Kaisercraft papers from past kits. The chipboard is from Creative Imaginations. I painted it with Lindy's Stamp Gang Magical Micas and then overstamped with a Prima Script stamp.
Prima and Petaloo flowers to finish it off.

Thanks for stopping by and have a great day.
Tuesday, March 13, 2012

Walls

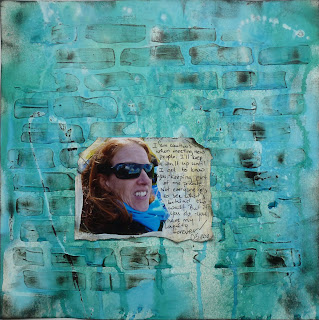
Walls, we all have them built up in us. I wanted to create a page talking about them and keeping it daily simple, not much embellishing, but journaling to tell the story.

The background is molding paste through a Crafter's Workshop stencil. Lindy's Stamp Gang Starburst Sprays, Gesso and Black Staz On finish it off.

I tore the edges of my photo, lightly spritzed with water and sanded out the background. Layer of Golden Glaze over the sanded parts and put my journaling directly on the photo. Edge with black ink and adhered to the page.

This layout was featured in the January issue of Scrapbook News and Review.

Thanks for stopping by and have a great day.
Saturday, March 10, 2012

Curiosity


The one word challenge for the January issue of Scrapbook News and Review.

In the fall we visited a pumpkin farm with our German Kindertreff. There was this large corn maze we walked through that was filled with the end of summer Sunflowers. Most were down low to the ground allow for up close inspection of their large heads.

All paper is from BoBunny. The flowers are from Prima.

thanks for stopping by and have a great day.

Thursday, March 8, 2012

My Story

My Grandparents.
All paper is BoBunny.

Layout featured in Jan issue of Scrapbook News and Review.

Have a great day

Monday, March 5, 2012

My Girl

In the fall of 2011 the littlest one FINALLY was able to play on a real soccer team just like her big sister.
This layout was done for a Black & White challenge in the January issue of Scrapbook News and Review.
Super simple---Black and White card stock. Glimmer mist by Tattered Angels, Prima flowers and flourish.

Thanks for stopping by and have a great day.
Sunday, March 4, 2012

You have to Believe in Happiness

A series of 3 ATCs
The background as made by gluing layers of found text, and scraps of patterned papers together. There is probably about 10-15 layers here. After it dried I then scratched and tore pieces off so you could see all the layers.
Antique Linen, Vintage Photo and Weathered Wood Distress Stains were dabbed all over the tore bits. Water was misted to make the colors run even more.
Once dry a Webster's Pages Sticker was cut up to make my branches. The birds are from Prima.

The quote was printed out and aged with Distress Inks.

These were featured in the January issue of Scrapbook News and Review.

Thanks for stopping by and have a great day.
Saturday, March 3, 2012

auf dem Spielplatz

At a most fantastic playground in Krefeld, Germany.

The background paper was dry brushed with Gesso and then Golden fluid acrylic paint was dripped down.
The flowers were a Prima vine that I cut apart so I could spread the flowers out more.

The layout was featured in the January issue of Scrapbook News and Review.

Thanks for stopping by.

Friday, March 2, 2012

Cards with a French flair


2 cards created using the Kaisercraft Bonjour line. At first I wasn't sure of the soft colors but as I began to work more with them I have used up every bit of the paper that came in my Swirlydoos kit. I love it when that happens!

After all the papers were distressed the edges were inked with Prima Branch Bark ink. I used up my first ink pad so quickly I've had to order another one. The Branch Bark color is my new favorite brown.

Both cards were featured in the January issue of Scrapbook News and Review.

Thanks for stopping by and have a great day!

Thursday, March 1, 2012

Advice

Advice....we all get it. From our parents, from our friends and even from strangers. Some of it is good, some silly , and some just downright ridiculous. It is up to each of us to decide what we should, and should not listen to.

I did this page in an altered book to show advice. Each strip is a new piece of advice, either given to me or collected by asking my friends. I typed them all up and then cut them out to make her dress and arms. The background is acrylic paint put on with a credit card and then covered with my fingerprints. The head is a stamped image.

thanks for stopping by and have a great day.