Showing posts with label Pitt Big Brush Artist Pens. Show all posts

Thursday, March 26, 2015

We rise...

In my continuing share of Art Journal pages...
This is one I finished up today;
while working on my stove top which I have converted into a workweeks until renovations are finished.
Cooking takes a second to creating!

The background was created with extra paint on brushes from another page.
Just use a blank page to clean it off and you have an instant background.
Modeling paste through a Crafter's Workshop stencil, 
and a little bit of stamping with a script stamp and a Club Scrap circle stamp.

The hand came in a Happy Mail envelope.
I wish I had more of them, it looks so cool in real life.
The heart is cut freehand from sheet music and painted with several colors of acrylic paint

Gesso on bubble wrap stamped over and a Black Soot distress marker and 
White Pitt Pen were used for shading.

My quote I found while searching Pinterest.

It really spoke to me while seeing all the bad things happening in the news.
I'm a firm believer in the whole "it takes a village" concept 
as well as Do Unto Others.

When you do you reap the rewards ten fold.
If only everyone could be a little bit nicer
(my ramblings for today).

Hope you get a little bit of creating in.
Thanks for stopping by and have a great day!

Wednesday, June 25, 2014

Documented Life Week 20

Slowly but surely catching up on the week's that I have missed in
my 
Documented Life journal.

As always past and present challenges can be found HERE.

Today I worked on week 20:
Week 20 Challenge - Use a Rubber Stamp in a new way
Did I use a stamp in a new way?
Probably not, 
but I'm happy the way the page turned out.


I used a heart stamp to create wings for the bird on the right.
I also used a flower stamp to create a border,
having only half of each flower on the paper.
The flowers were colored with Faber Castell Big Brush Artist Pens.

The background is on one of the very first Gelli Prints I made.
Book text was torn & glued then colored with Acrylic paint
for the birds to stand on.
The birds are from a collage sheet I have had forever.

Lastly the title on my page came from words cut from a magazine.
I love the idea of what it says, and what it means.
We are all different (and should rejoice in such).

Thanks for stopping by and have a great day!

Tuesday, May 13, 2014

Documented Life Week 18 and Words of Wisdom

Life has been crazy busy lately and my 
pages for 
had fallen by the wayside.

Today though I finally finished up week 18
To showcase a favorite quote.
I have tons of "favorite" quotes but stumbled upon this was as I was working on my pages background…
For me it was perfect.


This is the flap closed. 
The background is done with Golden Fluid Acrylics,
Stencil Girl stencils, Pitt Pens and some random stamping.

This is the flap once it's open.
My quote comes from Toni Morrison.
Perfect as a mom of 3 watching them get older and older, yet always reminding them they are my babies forever and ever.

some closeups... 
All the words were outlined with a charcoal pencil and smudged.


Make sure to stop by the Facebook & Flickr site to see what others have done.
Now just 2 more weeks to catch up on.

Thanks for stopping by and have a great day!

Saturday, April 19, 2014

Documented Life Project week 16 *Add Packaging*

After a week of having the kids home for Spring Break
I was finally able to do the week 16 challenge
for

The challenge this week….
April 12, 2014 - Week 16 Challenge - Add a cardboard food box in a creative way.


I though for a while on this.
I try to not buy much boxed food, and that that I did
have in my pantry was ehhh.

Then it struck me.
A while back I had placed a big order from 
(located here in North Carolina)
and the box that it came in had some really fun graphics on the outside.
Perfect!
This is the flap as it is closed.
The images were slowly peeled from the corrugated cardboard
and colored with 

This is the flap opened.
More images attached.
Are they not awesome.

Golden Fluid Acrylics in
Chromium Oxide Green, Yellow Ochre, Cadmium Red Med Hue & Manganese Blue Hue
were layered on.
This was definitely a case of not loving it immediately
but the more I added the more I liked.

Some clear Washii tape with numbers was added randomly.

Stamping with a Prima stamp and Archival Ink.
A Rebekah Meier stencil by
Crafter's Workshop with more 
Pitt Pens.

Black polka dotted Washii Tape.
(just cause it's fun)
and I pulled out some really old Rub Ons 
to use them up.


Make sure you check out the
Facebook & Flickr pages to see what everyone has created.

Thanks for stopping by and have a great day!


Friday, April 4, 2014

Respect Yourself…an Art Journal page


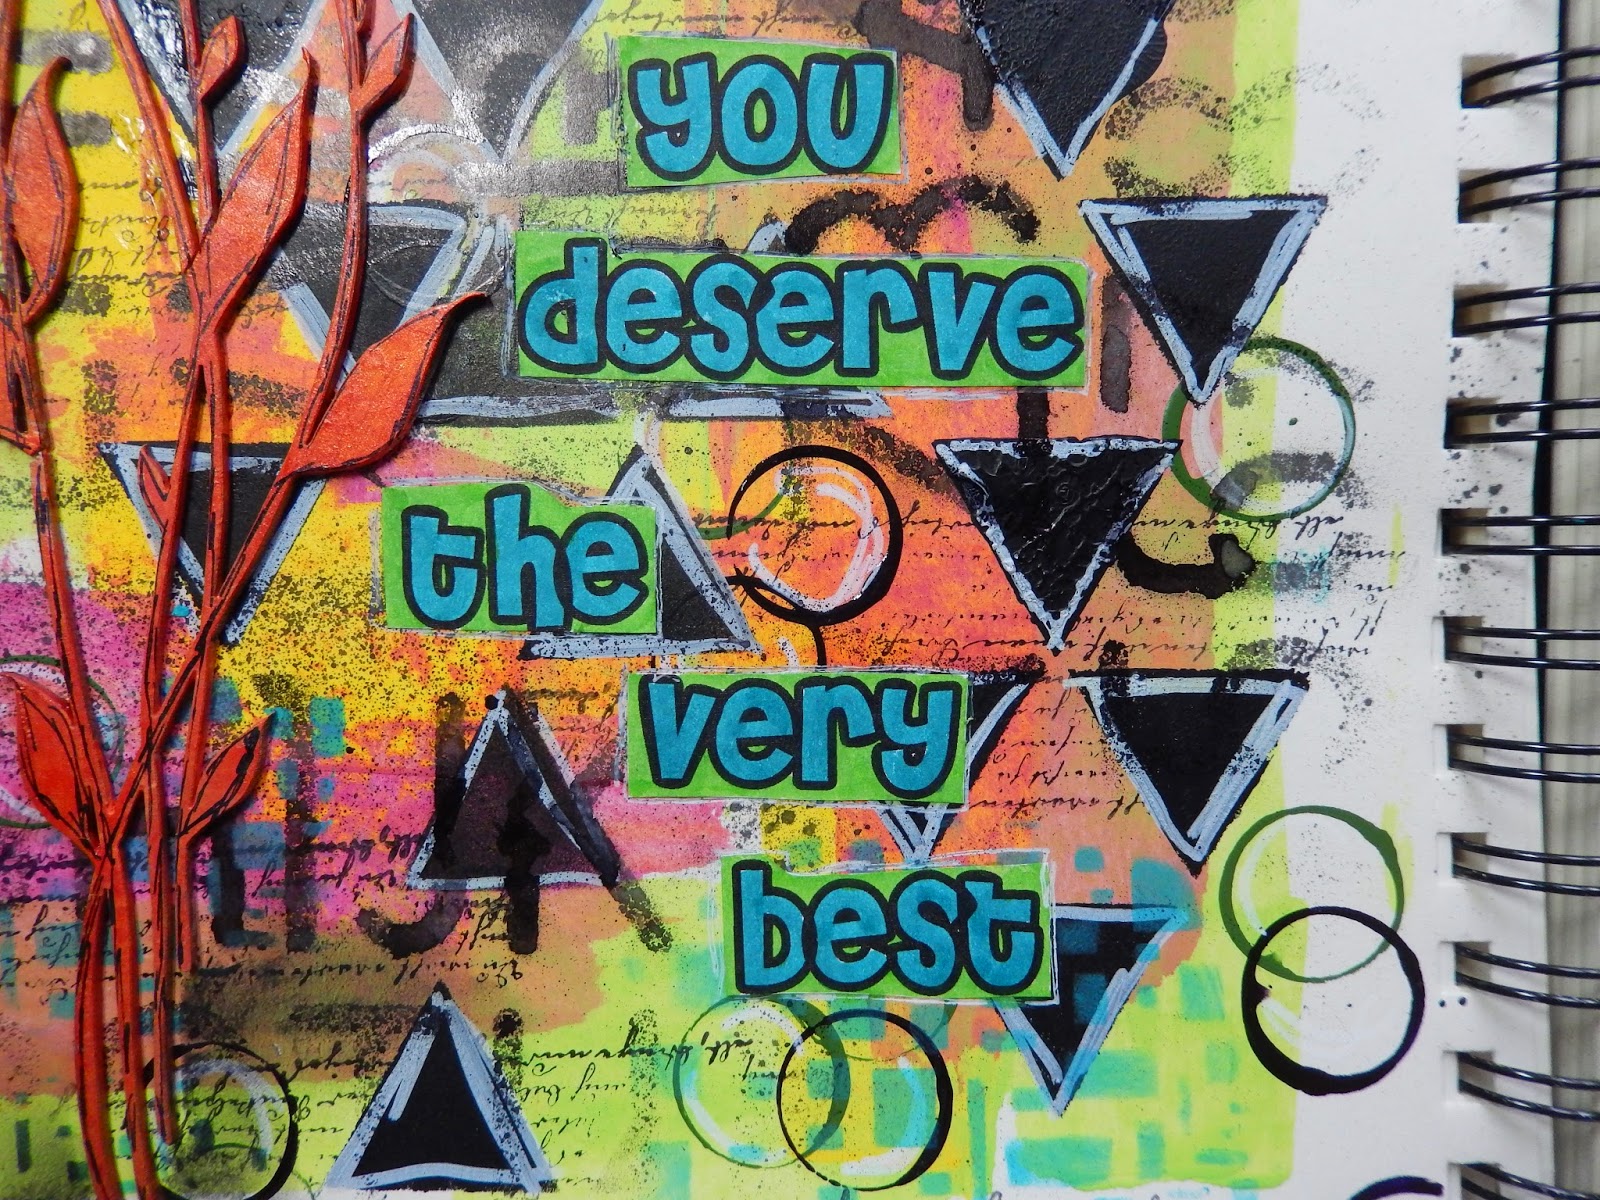
Art Journal page for today-
RESPECT!

I'm a huge collector of quotes and my favorite way to
save them is on Pinterest.
I can find a quote for just about anything there.

The background for this page began as a lot of my backgrounds do.
When I work on other projects I open to a page in my journal and use it 
to clean up my stencils, paints stamps etc.
When I'm ready to work I already have a jumping off point
(plus it saves money---paint is expensive!)

The background is first some Liquitex Acrylic Paint spread
around with an old credit card.
The Triangles are created using Black Gesso with a
Crafter's Workshop Stencil.
Once they were dry I used my new 
Faber Castell Pitt Artist Pen in White
(seriously my new love) 
and outlined them all.

Stamping with a mist bottle top and acrylic paint.
More of the FC Pitt Artist Pen in the center of the circles.

Gelatos in blue/green were scribbled onto my craft sheet 
and turned into a paint.
Then used with another Crafter's Workshop Stencil and my finger.

Stamping with a Hampton Arts stamp and Archival Ink.

and misting with Dylusions Black Marble through an Alphabet stencil.

The Chipboard is from Dusty Attic.
Painted with Silks Acrylic Glaze and then roughly outlined
using another Pitt Pen.

The quote was printed out on copy paper,
cut out and adhered to the page then colored with
more Pitt Artist Pens.

That's it for today,
Thanks for stopping by and have a great day!

Tuesday, February 11, 2014

The Documented Life Week 7…Repeating Shapes

Here is my week 7 piece for 

The challenge for this week is…
February 8, 2014  Challenge (Week Seven) - Draw one shape - repeat - add color.

I love this challenge, I love my planner, I love creating every single week and my book is growing by leaps and bounds.

Anyway…
I started with watercolor paper and colored it with Gelatos.
With a wet paintbrush I washed the color across the page blending as I went.
I then used a dot stamp and purple Gelato to stamp the purple dots randomly across the page.
With several circle stamps and Archival ink I stamped across the front and back of my piece.
I then colored some circles in with Golden Fluid Acrylics
and the rest with the Big Brush Pitt Pens by Faber Castell.

I tore some old book pages out and scribbled over them with a variety of Gelatos.
I then used a baby wipe to blend them .
(because these pages are old and brittle I didn't know how they would react to a wet paintbrush, hence the baby wipe. Gelatos blend so effortlessly that a wipe or even your finger is all you need)
I then cut out random circles from the book text and using my machine sewed them to the page.
I then took a black Gelato and outlined each circle,
smudging with my finger as I went.

Here is the page closed. There are folds at the top and bottom, with a large circle as a tab.
I left all my dangly threads because I just like them.

Closeup of the center circle….

And the opened page.
All my book text circles sewn and outlined.
I added a quote from Jon Bon Jovi…
You just stay the course, and do what it is you do, and grow while you're doing it. 
Eventually it will either come full circle
or at least you'll go to bed at night happy.


just some closeups...


Did I mention how happy I am with my circles?


Thanks for stopping by and have a great day!


Tuesday, June 25, 2013

Keep on playing...

Today's art journal page started out as play and then a keep on working until you are happy with it kind of moment.

The base was a grid of color created with my Gelatos over Gesso.
In the land of "one layer is never enough" I kept adding more.
First some script stamping.
Then I put Gesso through a Dylusions stencil and outlined the circles.
ICK.
This is not looking good!


Followed by me blowing Ayeed Water Inks across my page with a straw.
(now I've reached the what in the world am I doing stage)
I dipped my paintbrush in Black Marble Dylusions mist and outlined my color grid and the circles again.
Better...maybe.

Stamped my favorite flower stamp (from Unity) and outlined it with black Sharpie. Painted the inside with Gesso to give a more neutral surface and colored over that with a Faber Castell Pitt Pen.
Outlined AGAIN with a Sharpie the highlites with a white gel pen.

Starting to like...

Added a quote onto a small piece of a Gelli Print.
Be Your Own Kind of Beautiful
 Kind of along the lines I worked and worked until I managed to get something I actually like.
It made me happy.

And finally some big black flourishes, mostly to tone the color down even more.

So my advice to you; don't give up when creating. Keep plugging away and you may end up with something that makes you happy.

Thanks for stopping by and have a great day!

Tuesday, May 28, 2013

Everything has beauty...


So here I am in the middle of writing up a product review for Scrapbook News and Review.
I was talking about Silks Acrylic Glaze and figured the best way to show what I meant was to put a bunch on a piece of paper.
Now I just took a hodge podge of colors and started slapping them down over an old dictionary page.

Great, I had my sample for the review but now what. Some of the colors went together fantastically, others eh.
So I began to play.
First I rubbed some Old Road ink from Prima through a Crafter's Workshop stencil.

I pulled out a stamp set from Unity Stamps and stamped the large flower.
My black StazOn is drying up so the image wasn't that great. Out came my Sharpie where I traced over the stamped image, then it was colored in with Faber Castell Big Brush Pitt Pens.
Finally went over it with a white gel pen.

closeup of my flower

                                         Thanks for stopping by and have a great day!

   Oh; and if you are interested in what I have to say about the Silks...check out the June isse of Scrapbook News & Review, coming soon.

Wednesday, November 16, 2011

Free To Be

Sometimes it is fun to pull out the paints and mists with no particular plan in place.
That kind of play led to this layout.

A piece of cream Bazzill card stock as my base I started adding color. Sprayed with several Starburst Sprays from Lindy's Stamp Gang. The shots of color they instantly give just takes me to a happy place.
Then I pulled out some stamps from Inkadinkadoo, Clearsnap, and Club Scrap. Instead of using a regular stamp pad with them I dug through my collection of Pitt Big Brush Artist Pens. I colored and stamped with them .
A frame made with Golden Fluid Acrylics and a few rub ons in the corner and I was done.

The photo (one that I surprisingly like of me) was taken by my then 4 year old. She has a knack for getting the just right ones....or maybe it's because she snaps a gazillion pics every time she gets the camera. Either way I'm not complaining.

The layout was featured in the September issue of Scrapbook News and Review.

Thanks for stopping by and as always have a great day.